Menghubungkan Android dengan PHP,MySQL Materi ini akan membahas bagaimana membuat Program Android sederhana yang akan memanggil Script PHP untuk mengerjakan perintah CRUD (Create, Read,Update,Delete) sederhana. Berdasarkan gambar di atas, ponsel Android akan melakukan request (get/post) ke server melalui internet. Cara ini juga sama jika ingin aplikasi berada pada localhost. Selanjutnya web server (dalam hal ini PHP), akan memproses request dari Android dan akan melakukan query ke database (MySQL). Jadi, akan ada tiga hal yang harus kita lakukan: 1. Membuat Database dan Tabel 2. Membuat script PHP 3. Membuat aplikasi Android Sebelum memulai Pembuatan Aplikasi Install terlebih dahulu Apache,MySQL dan PHP bisa menggunakan Paket XAMPP Setelah berhasil menginstall XAMPP jalankan Apache dan MySQL melalui XAMPP Control Panel

Welcome message from author
This document is posted to help you gain knowledge. Please leave a comment to let me know what you think about it! Share it to your friends and learn new things together.
Transcript
Menghubungkan Android dengan PHP,MySQL
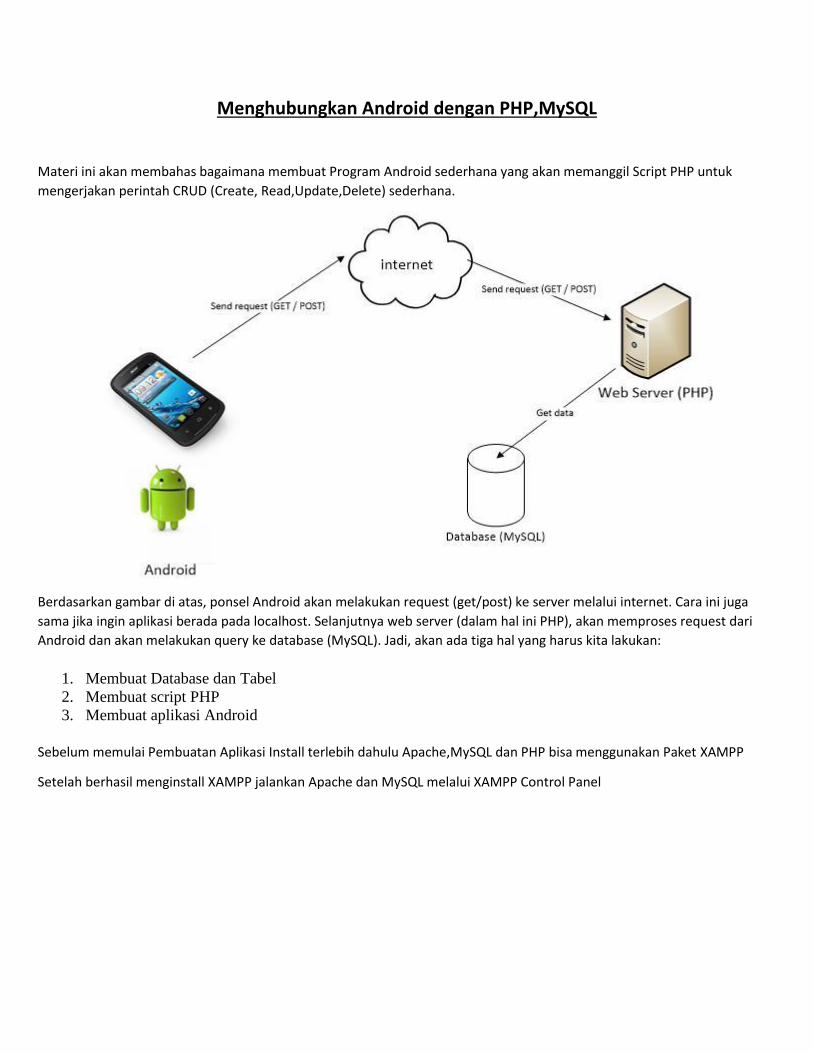
Materi ini akan membahas bagaimana membuat Program Android sederhana yang akan memanggil Script PHP untuk
mengerjakan perintah CRUD (Create, Read,Update,Delete) sederhana.
Berdasarkan gambar di atas, ponsel Android akan melakukan request (get/post) ke server melalui internet. Cara ini juga
sama jika ingin aplikasi berada pada localhost. Selanjutnya web server (dalam hal ini PHP), akan memproses request dari
Android dan akan melakukan query ke database (MySQL). Jadi, akan ada tiga hal yang harus kita lakukan:
1. Membuat Database dan Tabel
2. Membuat script PHP
3. Membuat aplikasi Android
Sebelum memulai Pembuatan Aplikasi Install terlebih dahulu Apache,MySQL dan PHP bisa menggunakan Paket XAMPP
Setelah berhasil menginstall XAMPP jalankan Apache dan MySQL melalui XAMPP Control Panel

Membuat Database dan Tabel
- Buka phpmyadmin menggunakan browser melalui alamat http://localhost/phpmyadmin/
- Buat database dengan cara CREATE DATABASE androidhive;
- Buat Table dengan cara
CREATE TABLE products( pid int(11) primary key auto_increment, name varchar(100) not null, price decimal(10,2) not null, description text, created_at timestamp default now(), updated_at timestamp );

-
Membuat Script PHP
Sebenarnya Android tidak dapat berkomunikasi langsung dengan MySQL untuk memanipulasi database. Untuk itu, kita
membutuhkan script server side misalnya ASP, JSP atau PHP untuk bisa menjadi “jembatan” antara Android dengan MySQL.
Jadi, Android hanya memberika perintah (request) ke PHP dan PHP lah yang akan melaksanakan query ke MySQL.
Now the actual server side coding starts. Create a PHP class to connect to MySQL database. The main purpose of
this class is to open a connection to database and close the connection whenever its not needed. So create two files
called db_config.php and db_connect.php
db_config.php – will have database connection variables
db_connect.php – a class file to connect to database
Following is code for two php files
db_config.php <?php /* * All database connection variables */ define('DB_USER', "root"); // db user define('DB_PASSWORD', ""); // db password (mention your db password here) define('DB_DATABASE', "androidhive"); // database name define('DB_SERVER', "localhost"); // db server ?>
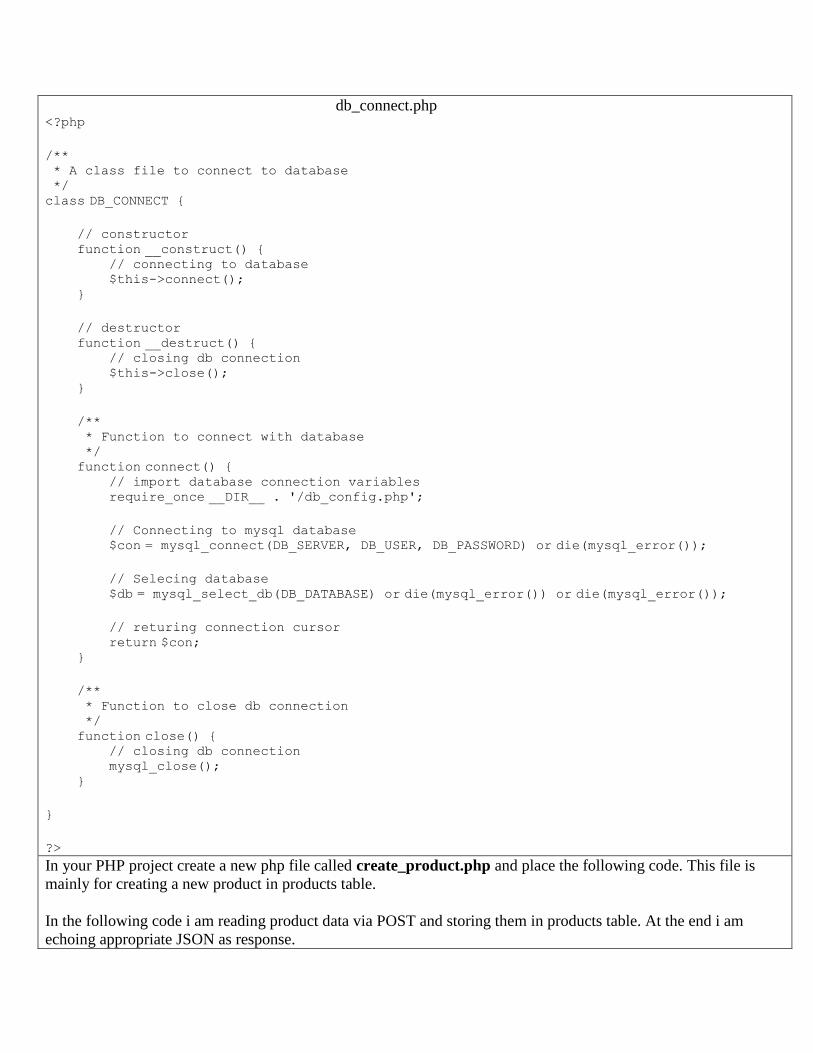
db_connect.php <?php
/** * A class file to connect to database */ class DB_CONNECT { // constructor function __construct() { // connecting to database $this->connect(); } // destructor function __destruct() { // closing db connection $this->close(); } /** * Function to connect with database */ function connect() { // import database connection variables require_once __DIR__ . '/db_config.php';
// Connecting to mysql database $con = mysql_connect(DB_SERVER, DB_USER, DB_PASSWORD) or die(mysql_error()); // Selecing database $db = mysql_select_db(DB_DATABASE) or die(mysql_error()) or die(mysql_error()); // returing connection cursor return $con; } /** * Function to close db connection */ function close() { // closing db connection mysql_close(); } }
?>
In your PHP project create a new php file called create_product.php and place the following code. This file is
mainly for creating a new product in products table.
In the following code i am reading product data via POST and storing them in products table. At the end i am
echoing appropriate JSON as response.
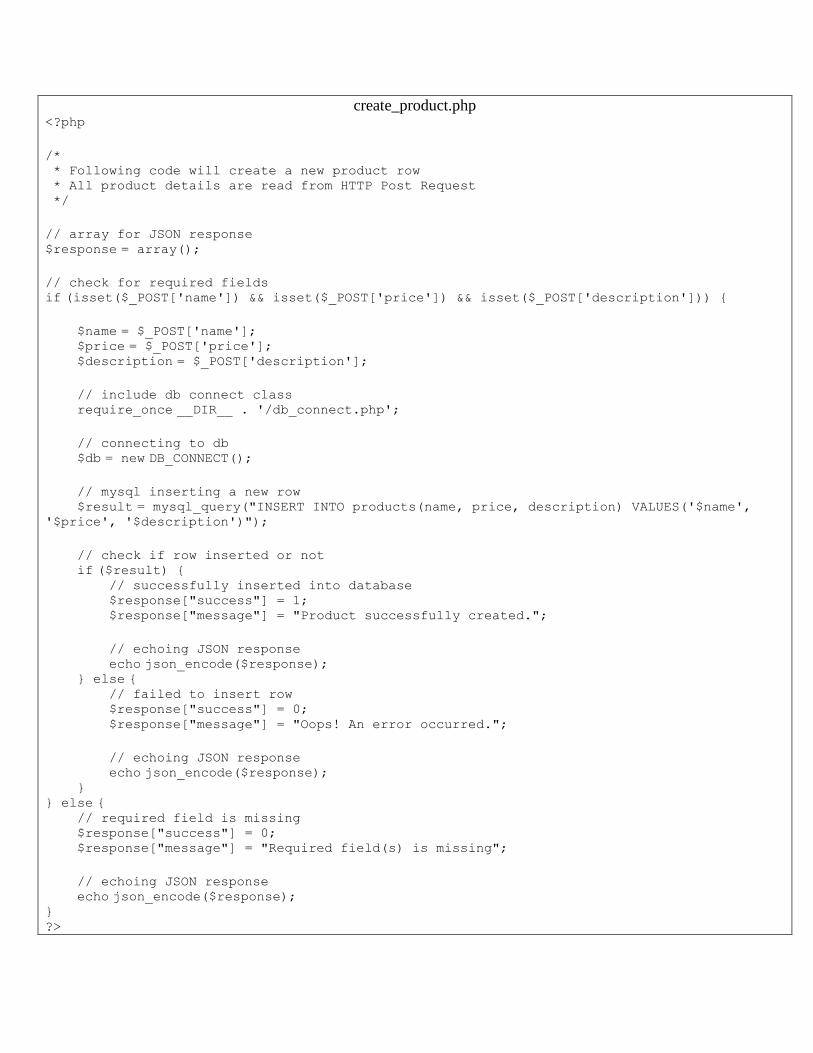
create_product.php <?php
/* * Following code will create a new product row * All product details are read from HTTP Post Request */ // array for JSON response $response = array(); // check for required fields if (isset($_POST['name']) && isset($_POST['price']) && isset($_POST['description'])) {
$name = $_POST['name']; $price = $_POST['price']; $description = $_POST['description']; // include db connect class require_once __DIR__ . '/db_connect.php';
// connecting to db $db = new DB_CONNECT();
// mysql inserting a new row $result = mysql_query("INSERT INTO products(name, price, description) VALUES('$name', '$price', '$description')");
// check if row inserted or not if ($result) { // successfully inserted into database $response["success"] = 1; $response["message"] = "Product successfully created.";
// echoing JSON response echo json_encode($response); } else { // failed to insert row $response["success"] = 0; $response["message"] = "Oops! An error occurred."; // echoing JSON response echo json_encode($response); } } else { // required field is missing $response["success"] = 0; $response["message"] = "Required field(s) is missing";
// echoing JSON response echo json_encode($response); } ?>
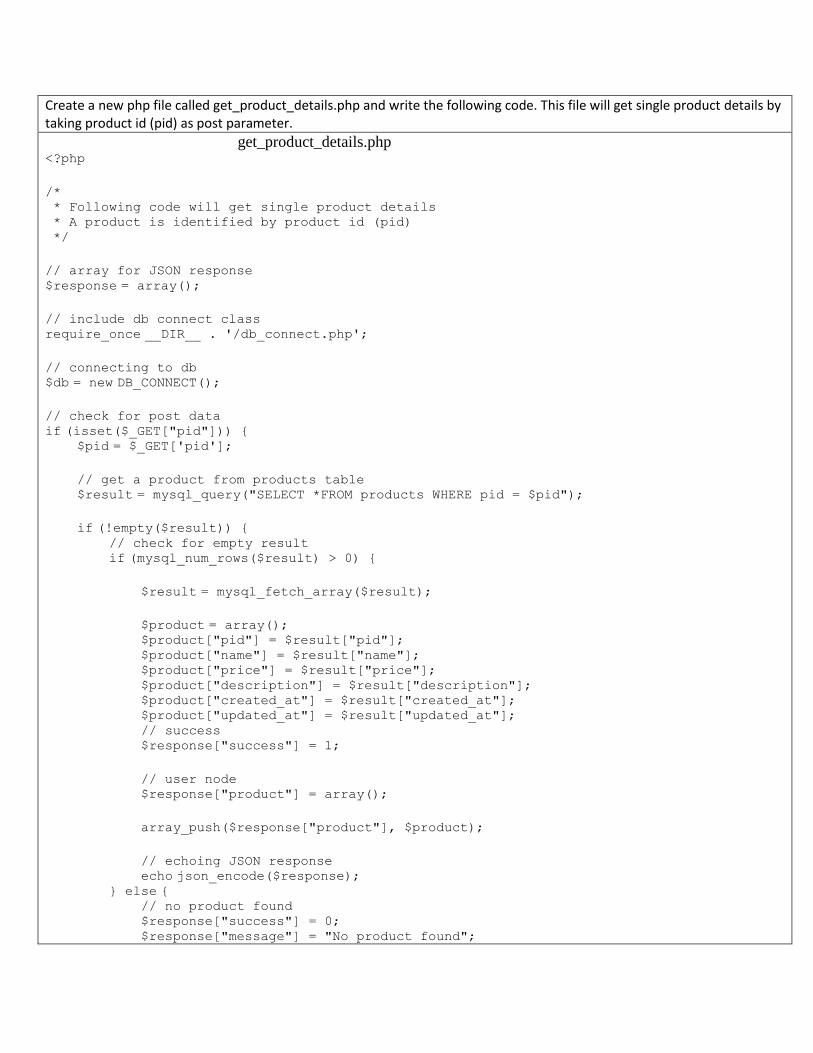
Create a new php file called get_product_details.php and write the following code. This file will get single product details by taking product id (pid) as post parameter.
get_product_details.php <?php
/* * Following code will get single product details * A product is identified by product id (pid) */ // array for JSON response $response = array(); // include db connect class require_once __DIR__ . '/db_connect.php';
// connecting to db $db = new DB_CONNECT(); // check for post data if (isset($_GET["pid"])) { $pid = $_GET['pid'];
// get a product from products table $result = mysql_query("SELECT *FROM products WHERE pid = $pid"); if (!empty($result)) { // check for empty result if (mysql_num_rows($result) > 0) {
$result = mysql_fetch_array($result); $product = array(); $product["pid"] = $result["pid"]; $product["name"] = $result["name"]; $product["price"] = $result["price"]; $product["description"] = $result["description"]; $product["created_at"] = $result["created_at"]; $product["updated_at"] = $result["updated_at"]; // success $response["success"] = 1;
// user node $response["product"] = array(); array_push($response["product"], $product);
// echoing JSON response echo json_encode($response); } else { // no product found $response["success"] = 0; $response["message"] = "No product found";
// echo no users JSON echo json_encode($response); } } else { // no product found $response["success"] = 0; $response["message"] = "No product found"; // echo no users JSON echo json_encode($response); } } else { // required field is missing $response["success"] = 0; $response["message"] = "Required field(s) is missing";
// echoing JSON response echo json_encode($response); } ?>
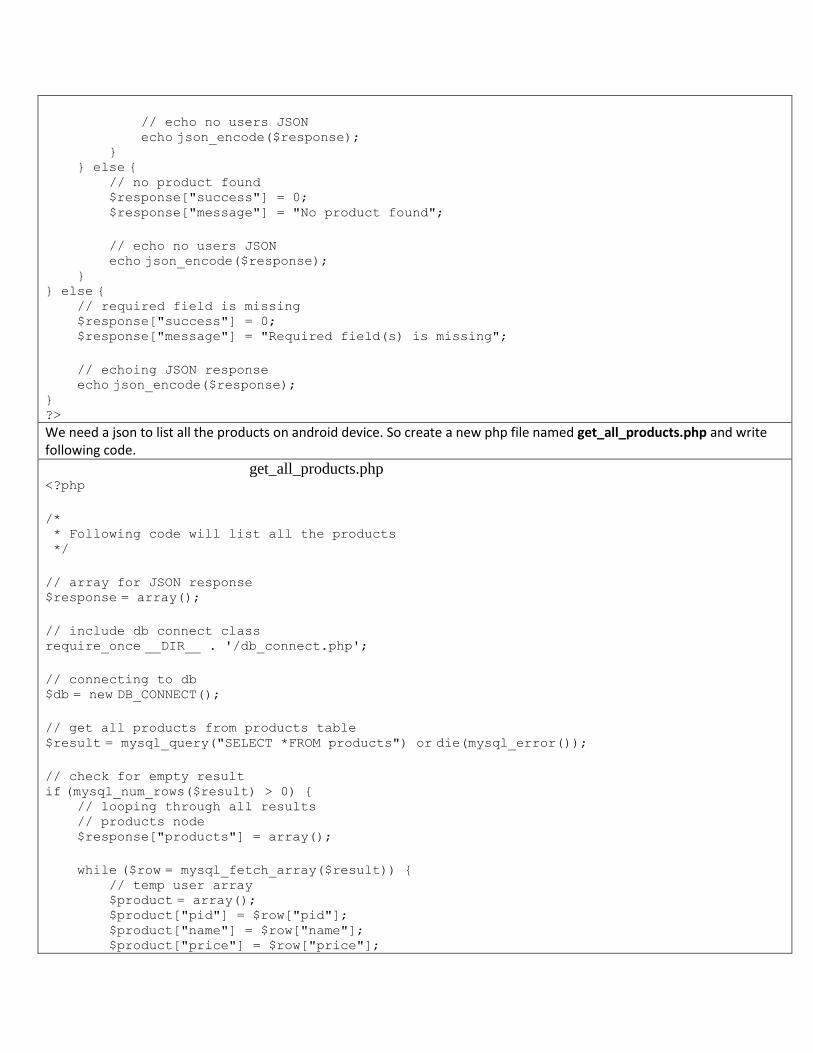
We need a json to list all the products on android device. So create a new php file named get_all_products.php and write following code.
get_all_products.php <?php
/* * Following code will list all the products */ // array for JSON response $response = array();
// include db connect class require_once __DIR__ . '/db_connect.php';
// connecting to db $db = new DB_CONNECT(); // get all products from products table $result = mysql_query("SELECT *FROM products") or die(mysql_error()); // check for empty result if (mysql_num_rows($result) > 0) { // looping through all results // products node $response["products"] = array(); while ($row = mysql_fetch_array($result)) { // temp user array $product = array(); $product["pid"] = $row["pid"]; $product["name"] = $row["name"]; $product["price"] = $row["price"];
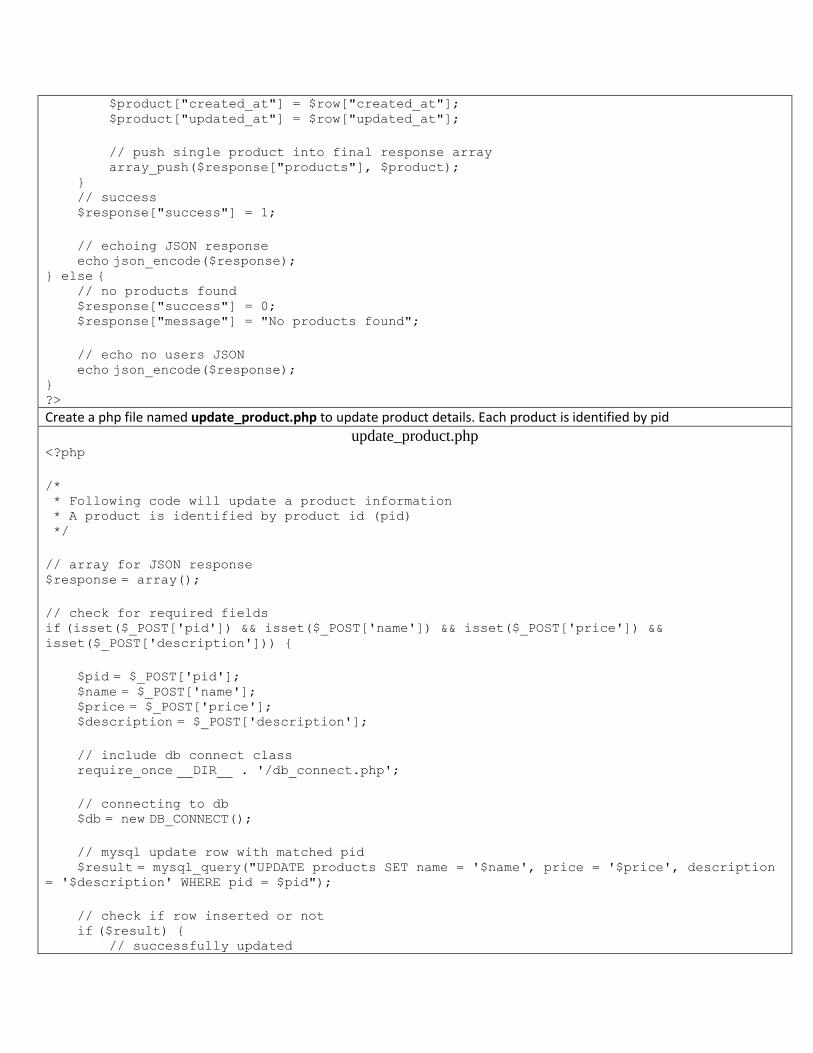
$product["created_at"] = $row["created_at"]; $product["updated_at"] = $row["updated_at"]; // push single product into final response array array_push($response["products"], $product); } // success $response["success"] = 1; // echoing JSON response echo json_encode($response); } else { // no products found $response["success"] = 0; $response["message"] = "No products found"; // echo no users JSON echo json_encode($response); } ?>
Create a php file named update_product.php to update product details. Each product is identified by pid
update_product.php <?php
/* * Following code will update a product information * A product is identified by product id (pid) */ // array for JSON response $response = array(); // check for required fields if (isset($_POST['pid']) && isset($_POST['name']) && isset($_POST['price']) && isset($_POST['description'])) { $pid = $_POST['pid']; $name = $_POST['name']; $price = $_POST['price']; $description = $_POST['description'];
// include db connect class require_once __DIR__ . '/db_connect.php';
// connecting to db $db = new DB_CONNECT(); // mysql update row with matched pid $result = mysql_query("UPDATE products SET name = '$name', price = '$price', description = '$description' WHERE pid = $pid");
// check if row inserted or not if ($result) { // successfully updated

$response["success"] = 1; $response["message"] = "Product successfully updated."; // echoing JSON response echo json_encode($response); } else { } } else { // required field is missing $response["success"] = 0; $response["message"] = "Required field(s) is missing"; // echoing JSON response echo json_encode($response); } ?>
The last operation is deletion on database. Create a new php file called delete_product.php and paste the following code. The main functionality of this file is to delete a product from database.
delete_product.php <?php /* * Following code will delete a product from table * A product is identified by product id (pid) */
// array for JSON response $response = array();
// check for required fields if (isset($_POST['pid'])) { $pid = $_POST['pid'];
// include db connect class require_once __DIR__ . '/db_connect.php';
// connecting to db $db = new DB_CONNECT(); // mysql update row with matched pid $result = mysql_query("DELETE FROM products WHERE pid = $pid"); // check if row deleted or not if (mysql_affected_rows() > 0) { // successfully updated $response["success"] = 1; $response["message"] = "Product successfully deleted"; // echoing JSON response echo json_encode($response); } else { // no product found $response["success"] = 0;
$response["message"] = "No product found";
// echo no users JSON echo json_encode($response); } } else { // required field is missing $response["success"] = 0; $response["message"] = "Required field(s) is missing"; // echoing JSON response echo json_encode($response); } ?>
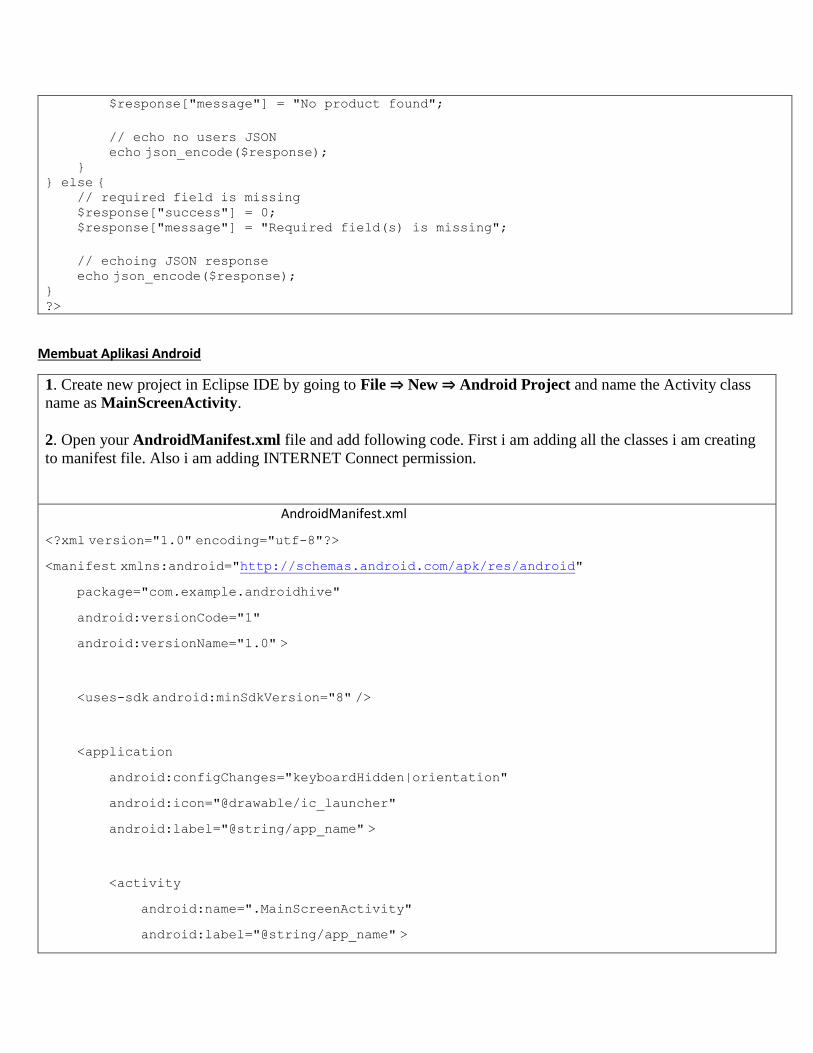
Membuat Aplikasi Android
1. Create new project in Eclipse IDE by going to File ⇒ New ⇒ Android Project and name the Activity class
name as MainScreenActivity.
2. Open your AndroidManifest.xml file and add following code. First i am adding all the classes i am creating
to manifest file. Also i am adding INTERNET Connect permission.
AndroidManifest.xml
<?xml version="1.0" encoding="utf-8"?>
<manifest xmlns:android="http://schemas.android.com/apk/res/android"
package="com.example.androidhive"
android:versionCode="1"
android:versionName="1.0" >
<uses-sdk android:minSdkVersion="8" />
<application
android:configChanges="keyboardHidden|orientation"
android:icon="@drawable/ic_launcher"
android:label="@string/app_name" >
<activity
android:name=".MainScreenActivity"
android:label="@string/app_name" >
<intent-filter>
<action android:name="android.intent.action.MAIN" />
<category android:name="android.intent.category.LAUNCHER" />
</intent-filter>
</activity>
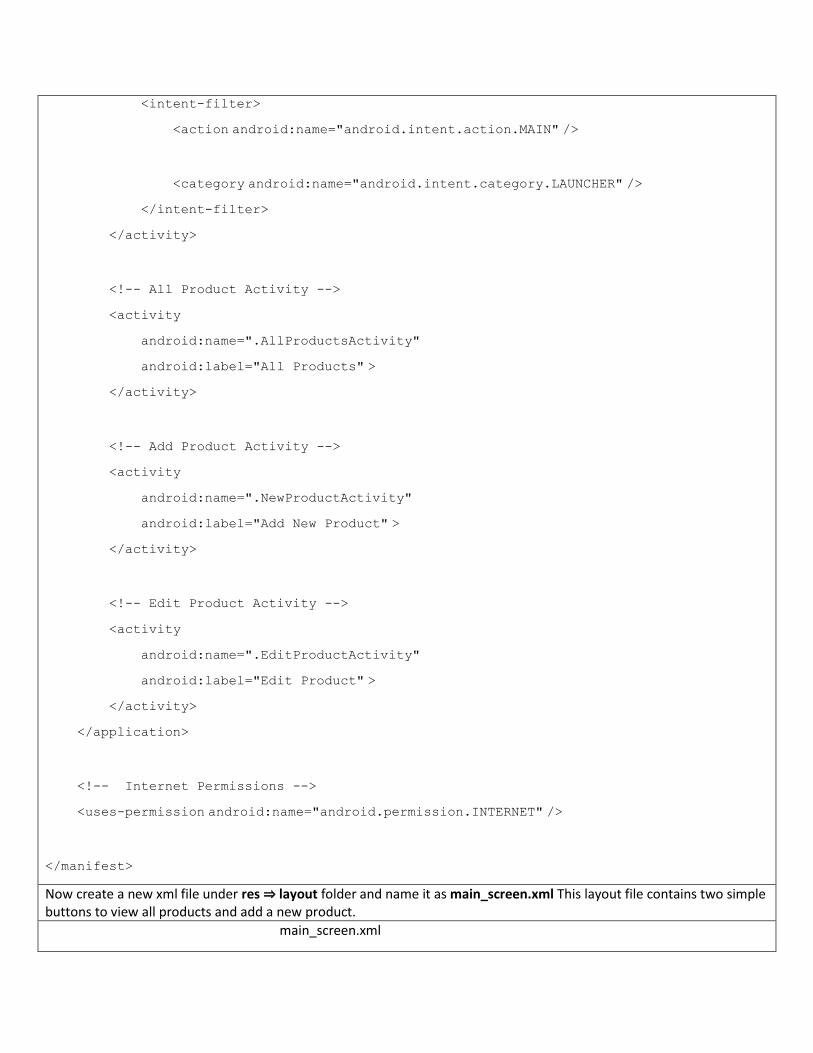
<!-- All Product Activity -->
<activity
android:name=".AllProductsActivity"
android:label="All Products" >
</activity>
<!-- Add Product Activity -->
<activity
android:name=".NewProductActivity"
android:label="Add New Product" >
</activity>
<!-- Edit Product Activity -->
<activity
android:name=".EditProductActivity"
android:label="Edit Product" >
</activity>
</application>
<!-- Internet Permissions -->
<uses-permission android:name="android.permission.INTERNET" />
</manifest>
Now create a new xml file under res ⇒ layout folder and name it as main_screen.xml This layout file contains two simple buttons to view all products and add a new product.
main_screen.xml
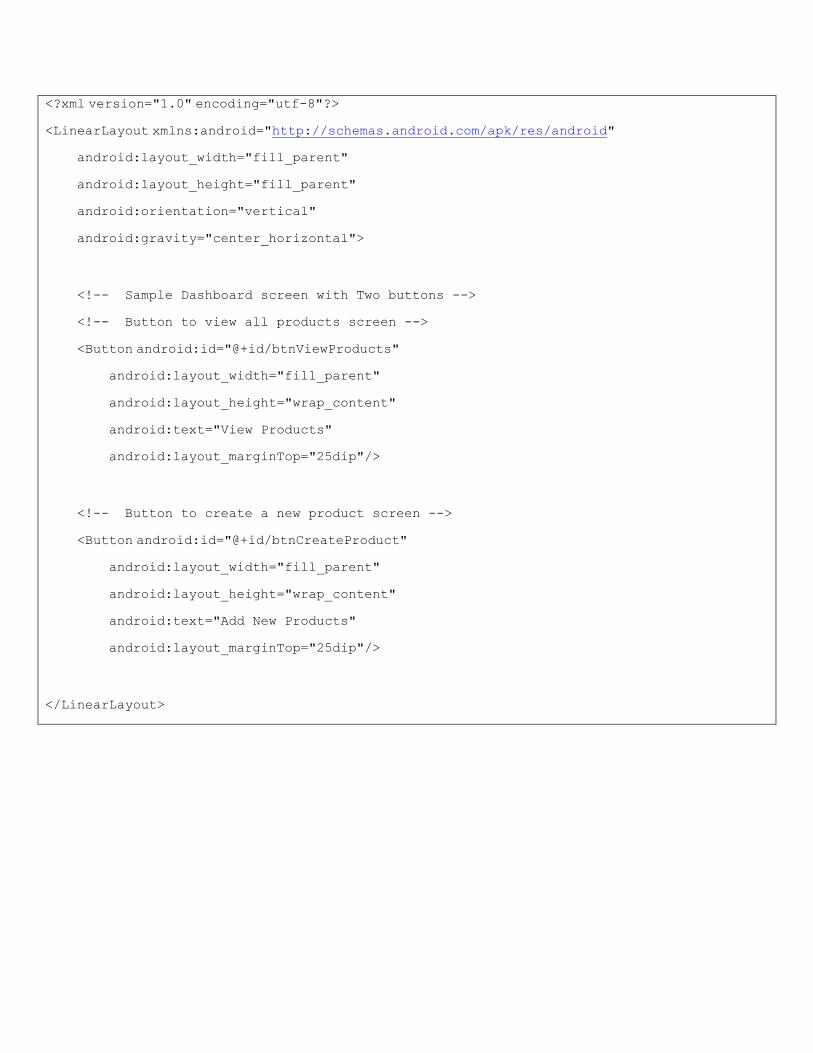
<?xml version="1.0" encoding="utf-8"?>
<LinearLayout xmlns:android="http://schemas.android.com/apk/res/android"
android:layout_width="fill_parent"
android:layout_height="fill_parent"
android:orientation="vertical"
android:gravity="center_horizontal">
<!-- Sample Dashboard screen with Two buttons -->
<!-- Button to view all products screen -->
<Button android:id="@+id/btnViewProducts"
android:layout_width="fill_parent"
android:layout_height="wrap_content"
android:text="View Products"
android:layout_marginTop="25dip"/>
<!-- Button to create a new product screen -->
<Button android:id="@+id/btnCreateProduct"
android:layout_width="fill_parent"
android:layout_height="wrap_content"
android:text="Add New Products"
android:layout_marginTop="25dip"/>
</LinearLayout>
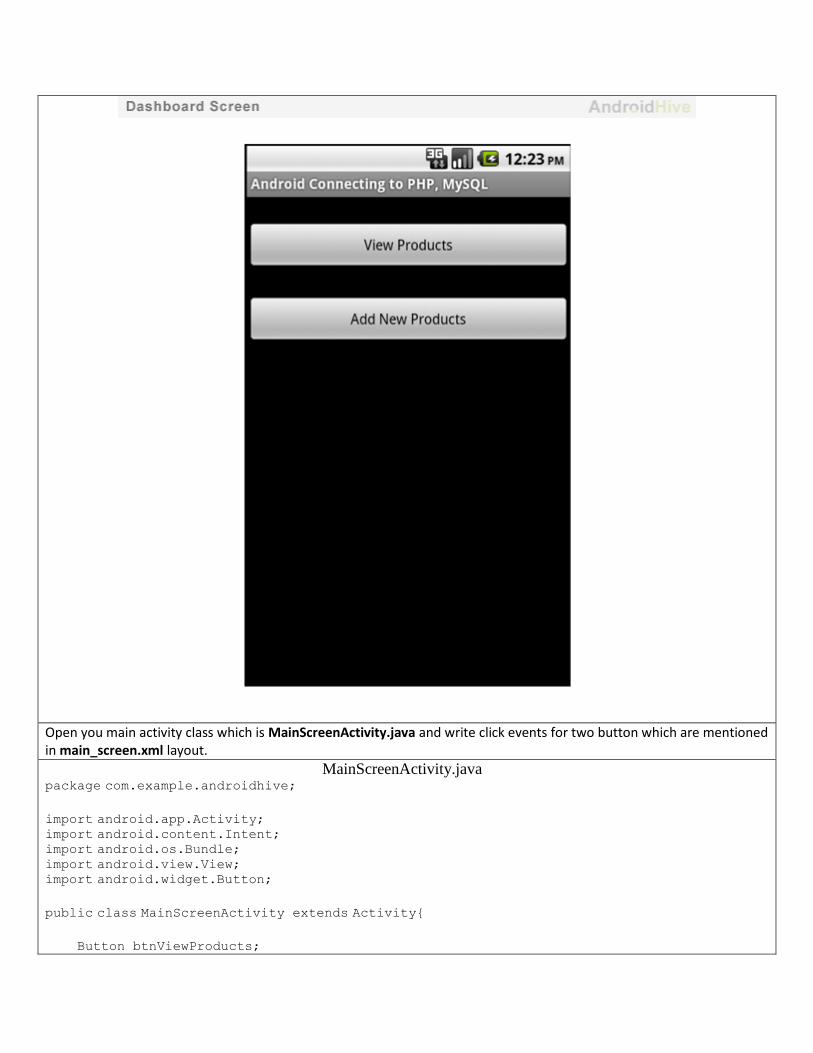
Open you main activity class which is MainScreenActivity.java and write click events for two button which are mentioned in main_screen.xml layout.
MainScreenActivity.java package com.example.androidhive;
import android.app.Activity; import android.content.Intent; import android.os.Bundle; import android.view.View; import android.widget.Button;
public class MainScreenActivity extends Activity{ Button btnViewProducts;
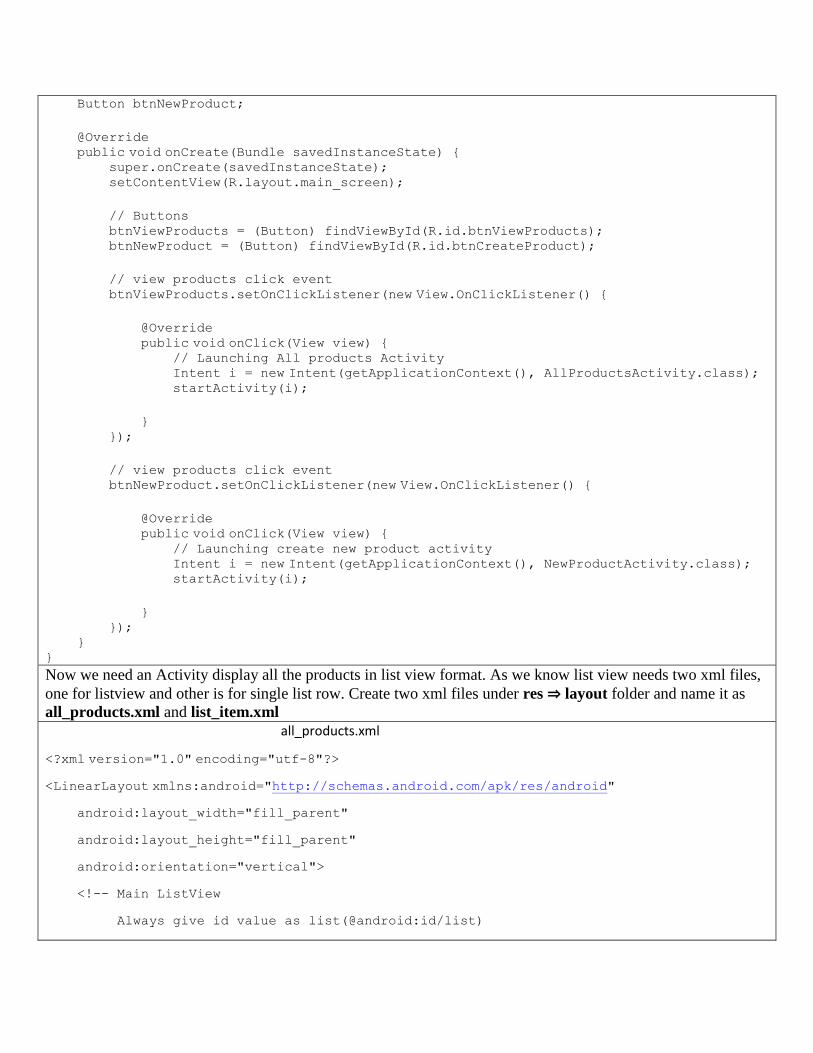
Button btnNewProduct;
@Override public void onCreate(Bundle savedInstanceState) { super.onCreate(savedInstanceState); setContentView(R.layout.main_screen); // Buttons btnViewProducts = (Button) findViewById(R.id.btnViewProducts); btnNewProduct = (Button) findViewById(R.id.btnCreateProduct); // view products click event btnViewProducts.setOnClickListener(new View.OnClickListener() { @Override public void onClick(View view) { // Launching All products Activity Intent i = new Intent(getApplicationContext(), AllProductsActivity.class); startActivity(i); } }); // view products click event btnNewProduct.setOnClickListener(new View.OnClickListener() {
@Override public void onClick(View view) { // Launching create new product activity Intent i = new Intent(getApplicationContext(), NewProductActivity.class); startActivity(i);
} }); } }
Now we need an Activity display all the products in list view format. As we know list view needs two xml files,
one for listview and other is for single list row. Create two xml files under res ⇒ layout folder and name it as
all_products.xml and list_item.xml
all_products.xml
<?xml version="1.0" encoding="utf-8"?>
<LinearLayout xmlns:android="http://schemas.android.com/apk/res/android"
android:layout_width="fill_parent"
android:layout_height="fill_parent"
android:orientation="vertical">
<!-- Main ListView
Always give id value as list(@android:id/list)
-->
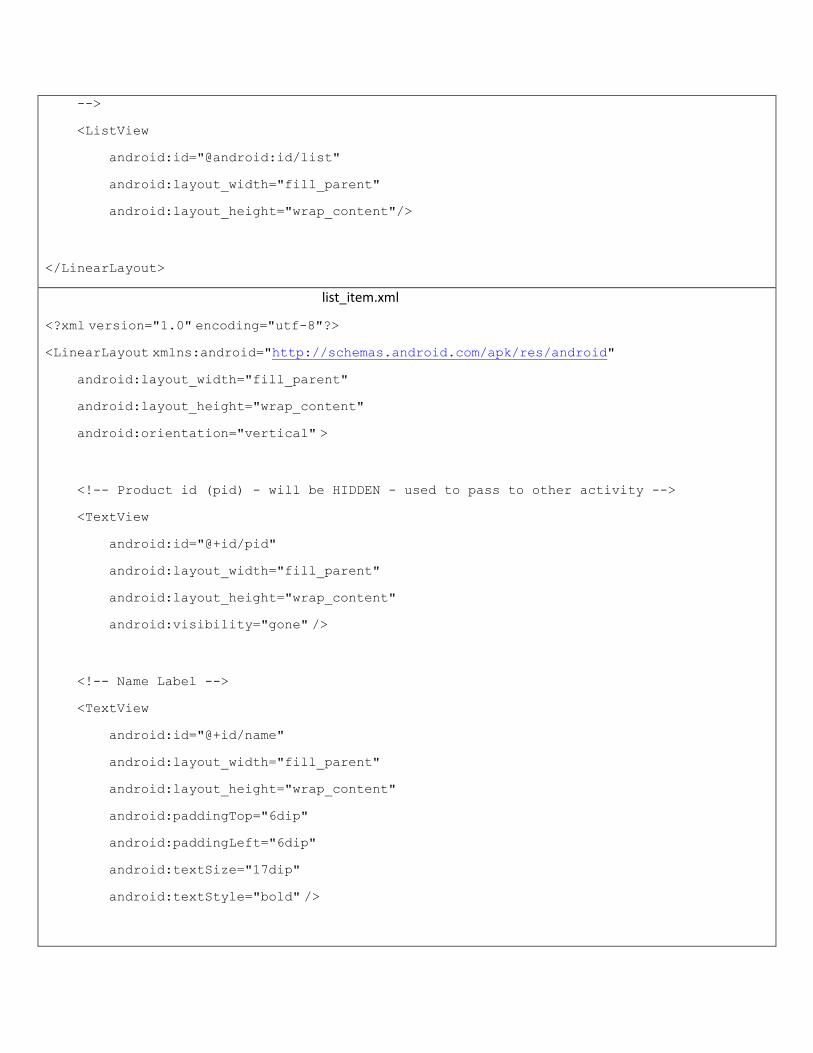
<ListView
android:id="@android:id/list"
android:layout_width="fill_parent"
android:layout_height="wrap_content"/>
</LinearLayout>
list_item.xml
<?xml version="1.0" encoding="utf-8"?>
<LinearLayout xmlns:android="http://schemas.android.com/apk/res/android"
android:layout_width="fill_parent"
android:layout_height="wrap_content"
android:orientation="vertical" >
<!-- Product id (pid) - will be HIDDEN - used to pass to other activity -->
<TextView
android:id="@+id/pid"
android:layout_width="fill_parent"
android:layout_height="wrap_content"
android:visibility="gone" />
<!-- Name Label -->
<TextView
android:id="@+id/name"
android:layout_width="fill_parent"
android:layout_height="wrap_content"
android:paddingTop="6dip"
android:paddingLeft="6dip"
android:textSize="17dip"
android:textStyle="bold" />
</LinearLayout>
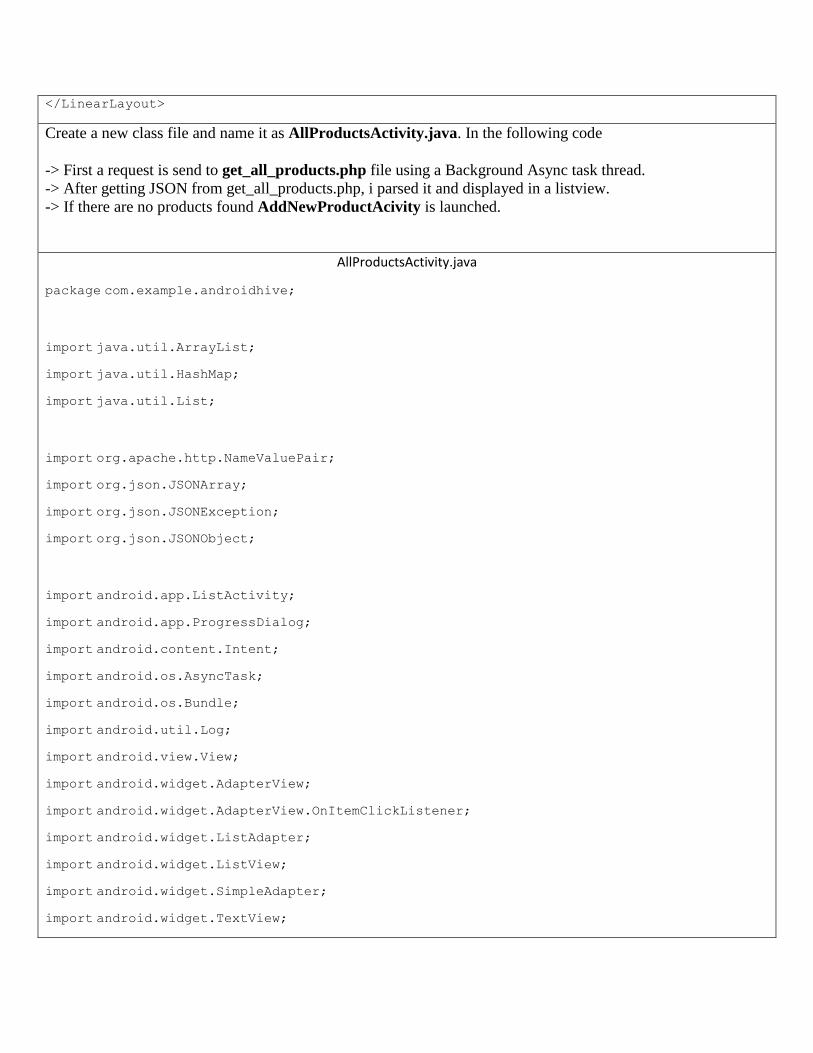
Create a new class file and name it as AllProductsActivity.java. In the following code
-> First a request is send to get_all_products.php file using a Background Async task thread.
-> After getting JSON from get_all_products.php, i parsed it and displayed in a listview.
-> If there are no products found AddNewProductAcivity is launched.
AllProductsActivity.java
package com.example.androidhive;
import java.util.ArrayList;
import java.util.HashMap;
import java.util.List;
import org.apache.http.NameValuePair;
import org.json.JSONArray;
import org.json.JSONException;
import org.json.JSONObject;
import android.app.ListActivity;
import android.app.ProgressDialog;
import android.content.Intent;
import android.os.AsyncTask;
import android.os.Bundle;
import android.util.Log;
import android.view.View;
import android.widget.AdapterView;
import android.widget.AdapterView.OnItemClickListener;
import android.widget.ListAdapter;
import android.widget.ListView;
import android.widget.SimpleAdapter;
import android.widget.TextView;
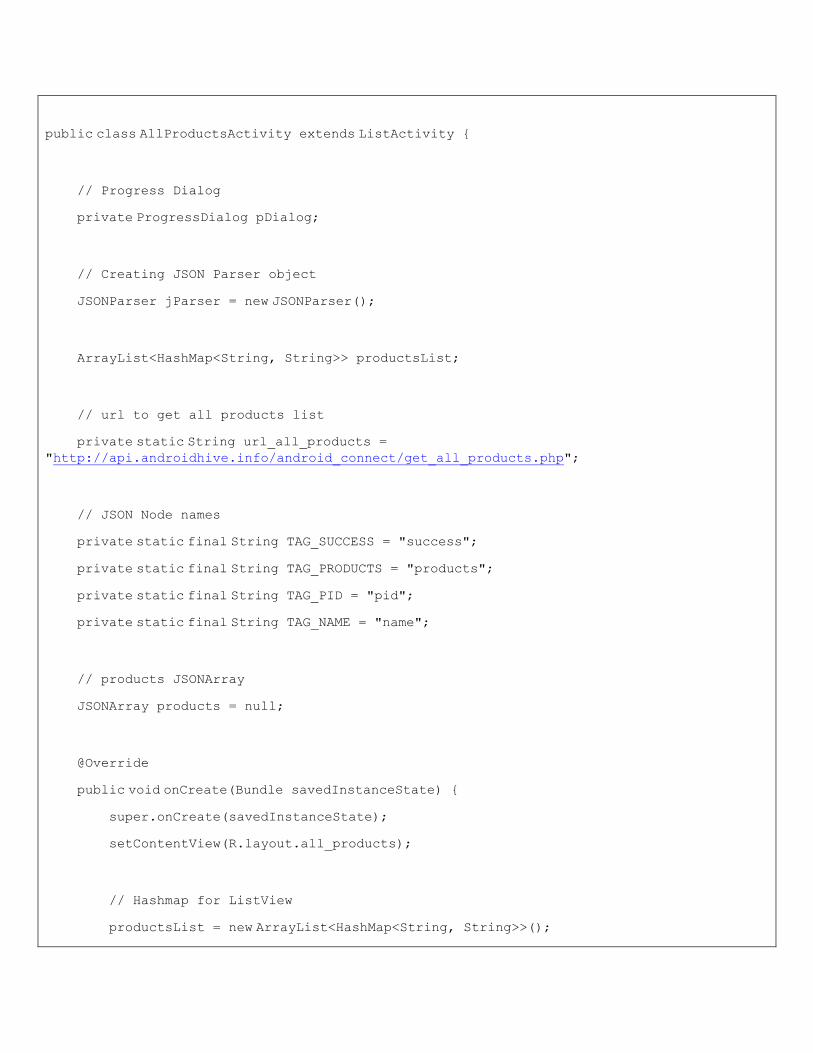
public class AllProductsActivity extends ListActivity {
// Progress Dialog
private ProgressDialog pDialog;
// Creating JSON Parser object
JSONParser jParser = new JSONParser();
ArrayList<HashMap<String, String>> productsList;
// url to get all products list
private static String url_all_products = "http://api.androidhive.info/android_connect/get_all_products.php";
// JSON Node names
private static final String TAG_SUCCESS = "success";
private static final String TAG_PRODUCTS = "products";
private static final String TAG_PID = "pid";
private static final String TAG_NAME = "name";
// products JSONArray
JSONArray products = null;
@Override
public void onCreate(Bundle savedInstanceState) {
super.onCreate(savedInstanceState);
setContentView(R.layout.all_products);
// Hashmap for ListView
productsList = new ArrayList<HashMap<String, String>>();
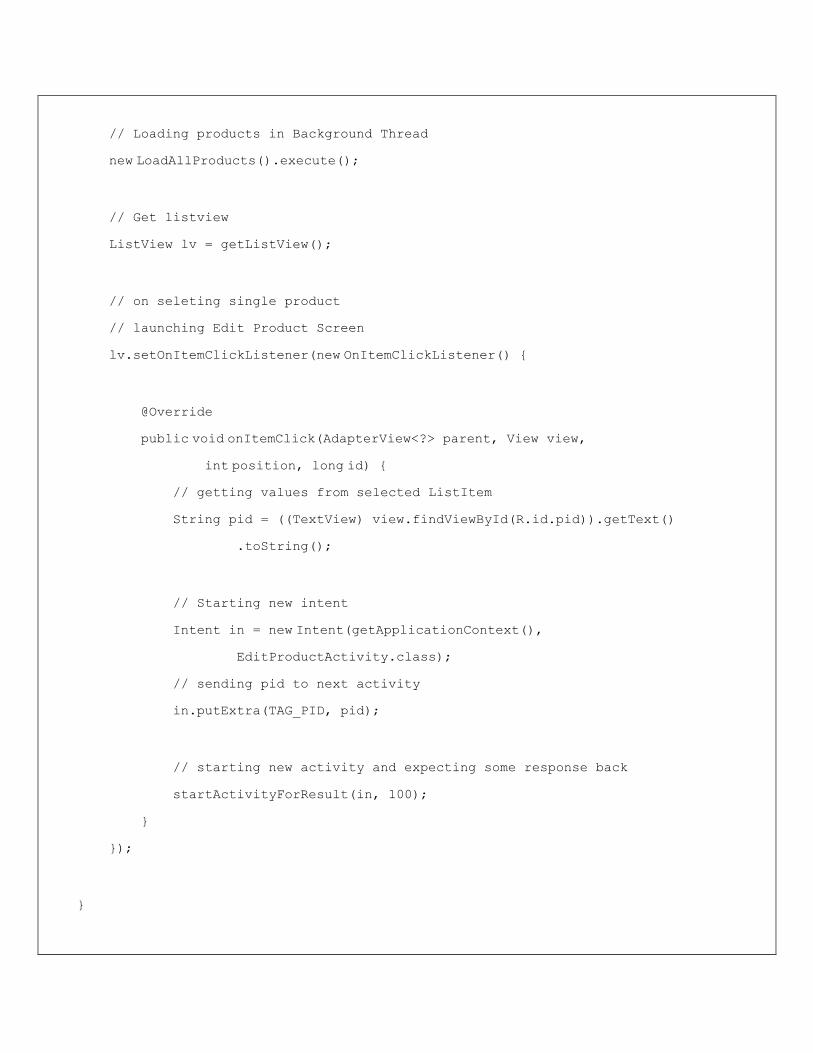
// Loading products in Background Thread
new LoadAllProducts().execute();
// Get listview
ListView lv = getListView();
// on seleting single product
// launching Edit Product Screen
lv.setOnItemClickListener(new OnItemClickListener() {
@Override
public void onItemClick(AdapterView<?> parent, View view,
int position, long id) {
// getting values from selected ListItem
String pid = ((TextView) view.findViewById(R.id.pid)).getText()
.toString();
// Starting new intent
Intent in = new Intent(getApplicationContext(),
EditProductActivity.class);
// sending pid to next activity
in.putExtra(TAG_PID, pid);
// starting new activity and expecting some response back
startActivityForResult(in, 100);
}
});
}
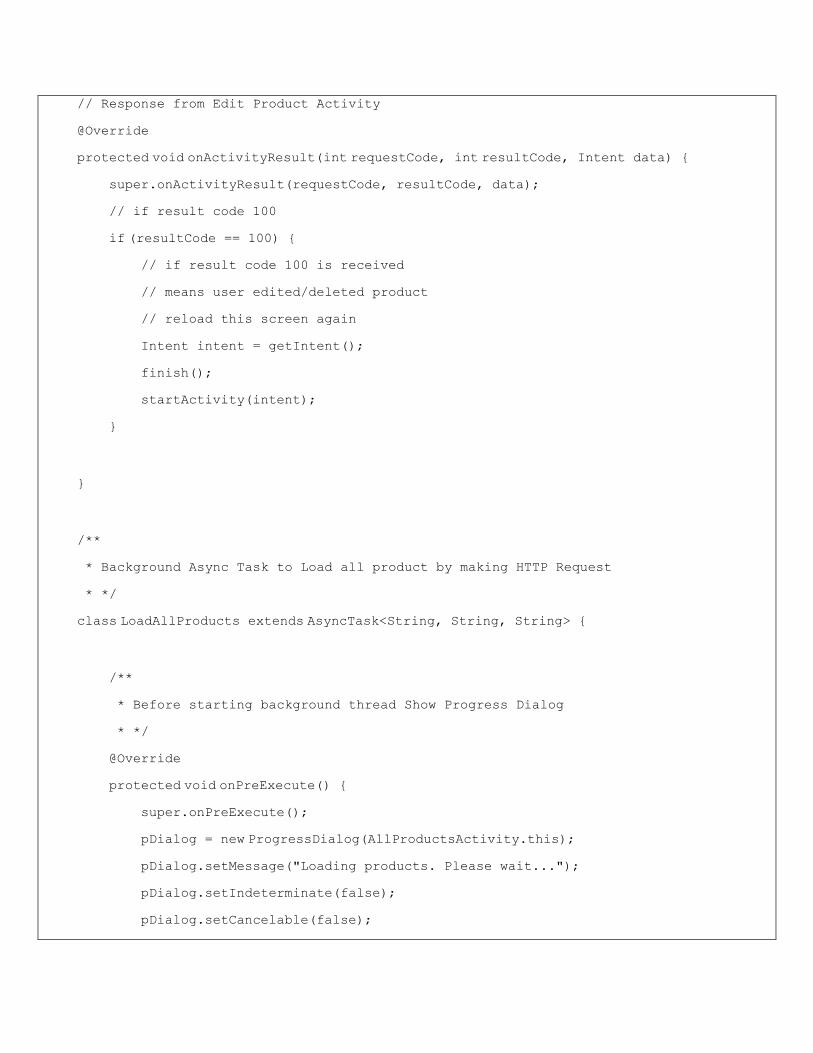
// Response from Edit Product Activity
@Override
protected void onActivityResult(int requestCode, int resultCode, Intent data) {
super.onActivityResult(requestCode, resultCode, data);
// if result code 100
if (resultCode == 100) {
// if result code 100 is received
// means user edited/deleted product
// reload this screen again
Intent intent = getIntent();
finish();
startActivity(intent);
}
}
/**
* Background Async Task to Load all product by making HTTP Request
* */
class LoadAllProducts extends AsyncTask<String, String, String> {
/**
* Before starting background thread Show Progress Dialog
* */
@Override
protected void onPreExecute() {
super.onPreExecute();
pDialog = new ProgressDialog(AllProductsActivity.this);
pDialog.setMessage("Loading products. Please wait...");
pDialog.setIndeterminate(false);
pDialog.setCancelable(false);
pDialog.show();
}
/**
* getting All products from url
* */
protected String doInBackground(String... args) {
// Building Parameters
List<NameValuePair> params = new ArrayList<NameValuePair>();
// getting JSON string from URL
JSONObject json = jParser.makeHttpRequest(url_all_products, "GET", params);
// Check your log cat for JSON reponse
Log.d("All Products: ", json.toString());
try {
// Checking for SUCCESS TAG
int success = json.getInt(TAG_SUCCESS);
if (success == 1) {
// products found
// Getting Array of Products
products = json.getJSONArray(TAG_PRODUCTS);
// looping through All Products
for (int i = 0; i < products.length(); i++) {
JSONObject c = products.getJSONObject(i);
// Storing each json item in variable
String id = c.getString(TAG_PID);
String name = c.getString(TAG_NAME);
// creating new HashMap
HashMap<String, String> map = new HashMap<String, String>();
// adding each child node to HashMap key => value
map.put(TAG_PID, id);
map.put(TAG_NAME, name);
// adding HashList to ArrayList
productsList.add(map);
}
} else {
// no products found
// Launch Add New product Activity
Intent i = new Intent(getApplicationContext(),
NewProductActivity.class);
// Closing all previous activities
i.addFlags(Intent.FLAG_ACTIVITY_CLEAR_TOP);
startActivity(i);
}
} catch (JSONException e) {
e.printStackTrace();
}
return null;
}
/**
* After completing background task Dismiss the progress dialog
* **/
protected void onPostExecute(String file_url) {
// dismiss the dialog after getting all products
pDialog.dismiss();
// updating UI from Background Thread
runOnUiThread(new Runnable() {
public void run() {
/**
* Updating parsed JSON data into ListView
* */
ListAdapter adapter = new SimpleAdapter(
AllProductsActivity.this, productsList,
R.layout.list_item, new String[] { TAG_PID,
TAG_NAME},
new int[] { R.id.pid, R.id.name });
// updating listview
setListAdapter(adapter);
}
});
}
}
}
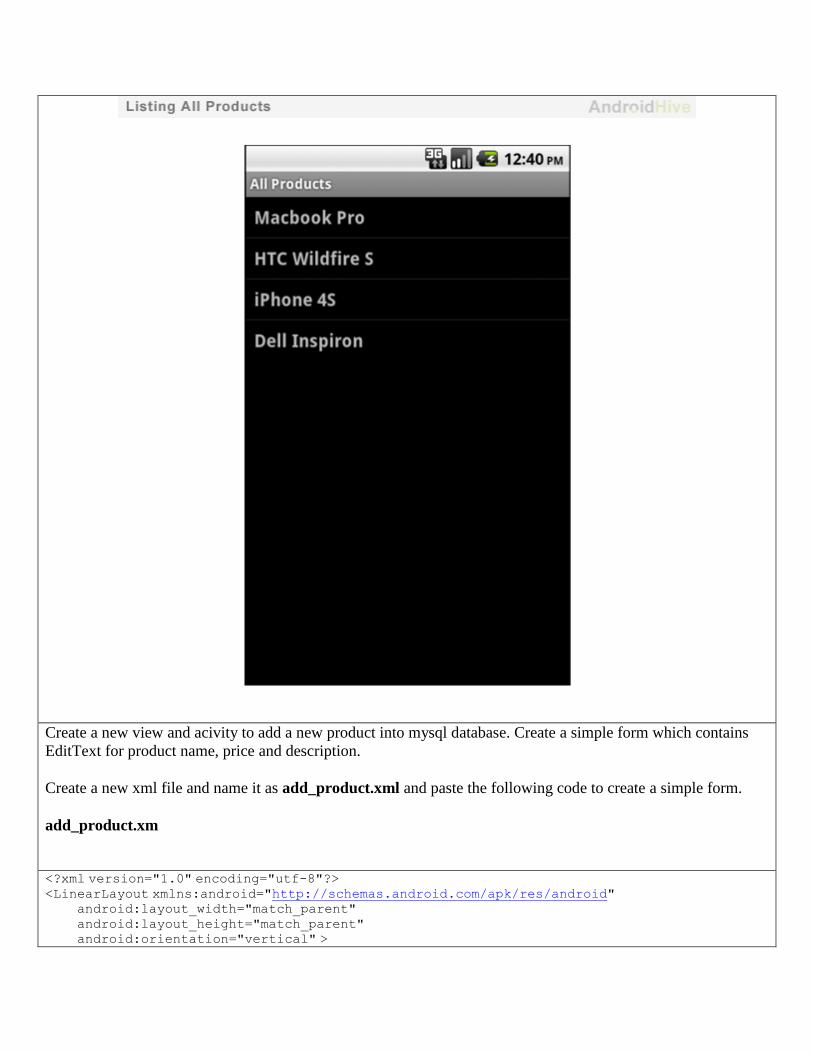
Create a new view and acivity to add a new product into mysql database. Create a simple form which contains
EditText for product name, price and description.
Create a new xml file and name it as add_product.xml and paste the following code to create a simple form.
add_product.xm
<?xml version="1.0" encoding="utf-8"?> <LinearLayout xmlns:android="http://schemas.android.com/apk/res/android" android:layout_width="match_parent" android:layout_height="match_parent" android:orientation="vertical" >
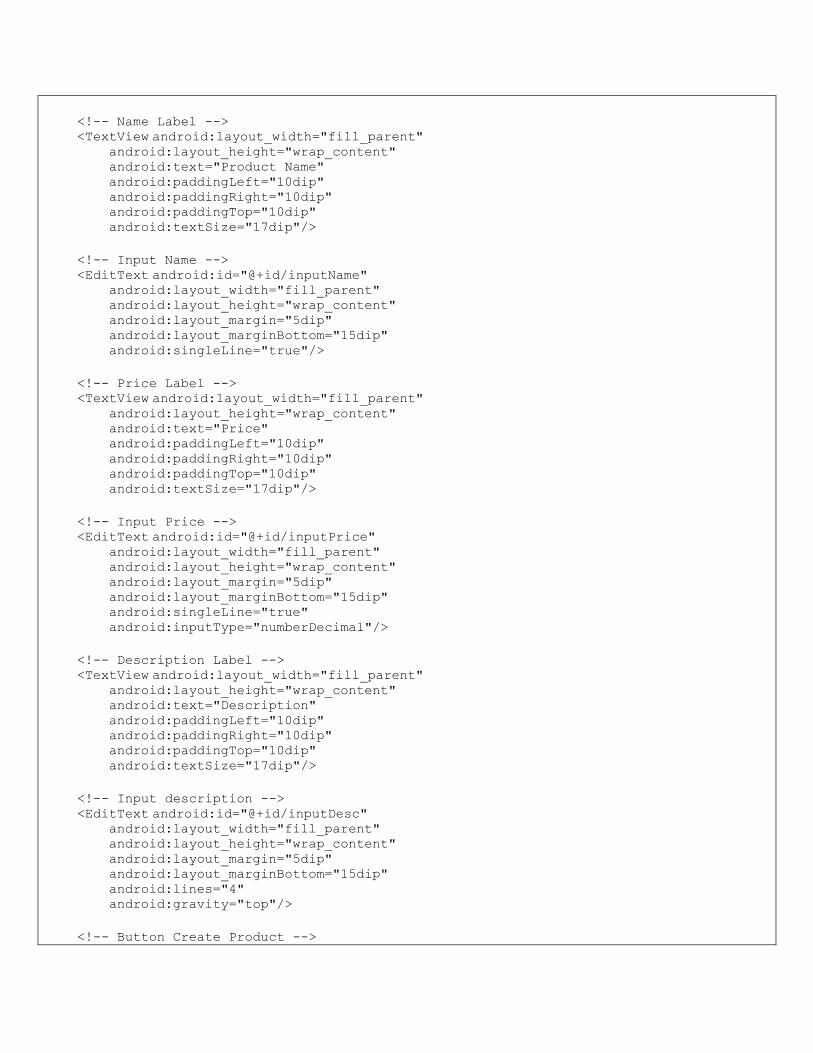
<!-- Name Label --> <TextView android:layout_width="fill_parent" android:layout_height="wrap_content" android:text="Product Name" android:paddingLeft="10dip" android:paddingRight="10dip" android:paddingTop="10dip" android:textSize="17dip"/> <!-- Input Name --> <EditText android:id="@+id/inputName" android:layout_width="fill_parent" android:layout_height="wrap_content" android:layout_margin="5dip" android:layout_marginBottom="15dip" android:singleLine="true"/> <!-- Price Label --> <TextView android:layout_width="fill_parent" android:layout_height="wrap_content" android:text="Price" android:paddingLeft="10dip" android:paddingRight="10dip" android:paddingTop="10dip" android:textSize="17dip"/> <!-- Input Price --> <EditText android:id="@+id/inputPrice" android:layout_width="fill_parent" android:layout_height="wrap_content" android:layout_margin="5dip" android:layout_marginBottom="15dip" android:singleLine="true" android:inputType="numberDecimal"/> <!-- Description Label --> <TextView android:layout_width="fill_parent" android:layout_height="wrap_content" android:text="Description" android:paddingLeft="10dip" android:paddingRight="10dip" android:paddingTop="10dip" android:textSize="17dip"/> <!-- Input description --> <EditText android:id="@+id/inputDesc" android:layout_width="fill_parent" android:layout_height="wrap_content" android:layout_margin="5dip" android:layout_marginBottom="15dip" android:lines="4" android:gravity="top"/> <!-- Button Create Product -->
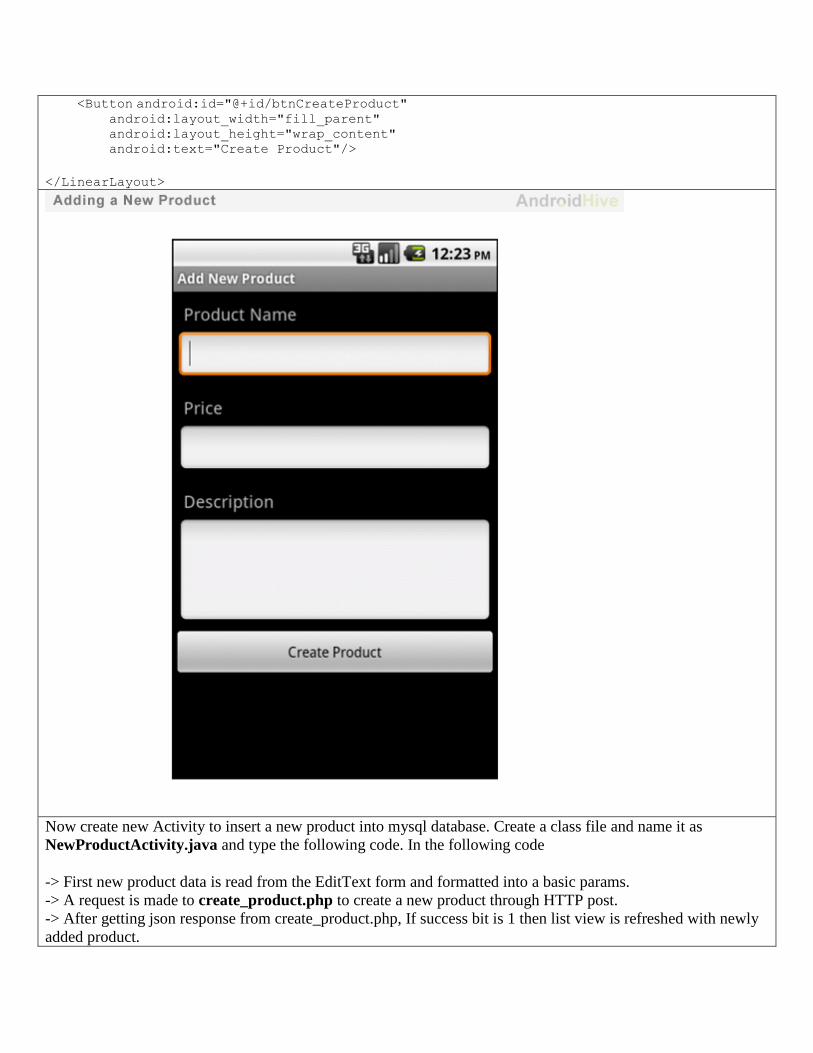
<Button android:id="@+id/btnCreateProduct" android:layout_width="fill_parent" android:layout_height="wrap_content" android:text="Create Product"/> </LinearLayout>
Now create new Activity to insert a new product into mysql database. Create a class file and name it as
NewProductActivity.java and type the following code. In the following code
-> First new product data is read from the EditText form and formatted into a basic params.
-> A request is made to create_product.php to create a new product through HTTP post.
-> After getting json response from create_product.php, If success bit is 1 then list view is refreshed with newly
added product.
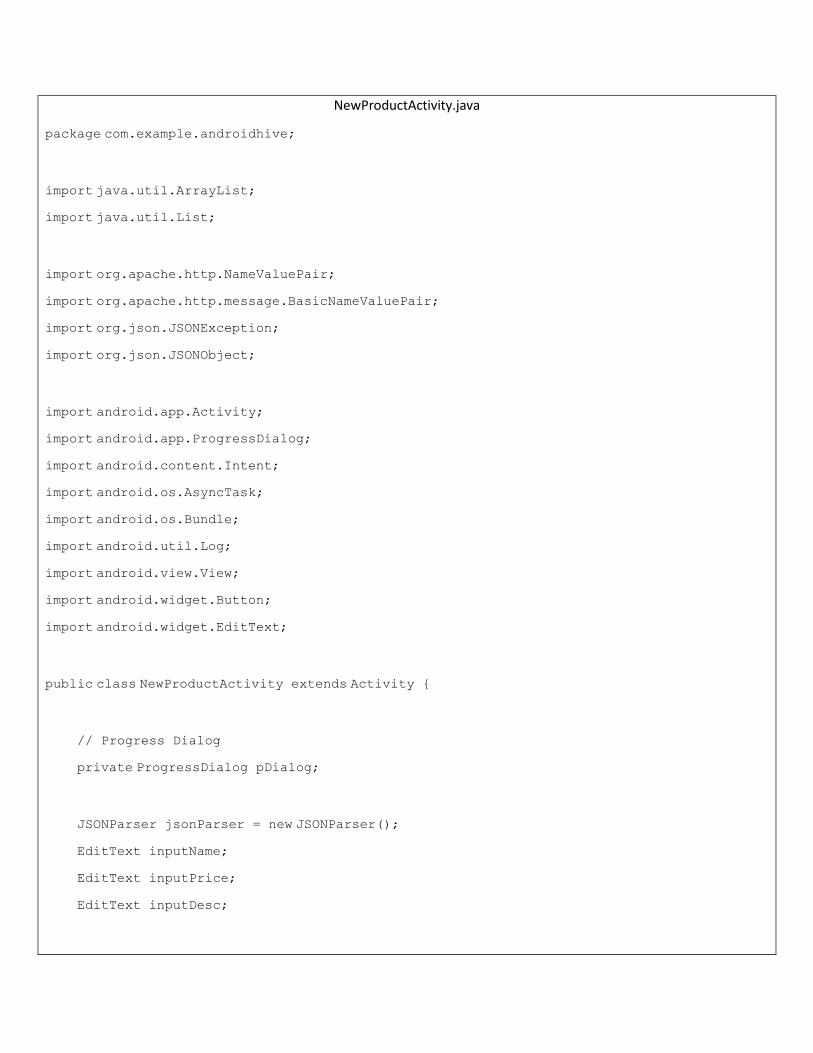
NewProductActivity.java
package com.example.androidhive;
import java.util.ArrayList;
import java.util.List;
import org.apache.http.NameValuePair;
import org.apache.http.message.BasicNameValuePair;
import org.json.JSONException;
import org.json.JSONObject;
import android.app.Activity;
import android.app.ProgressDialog;
import android.content.Intent;
import android.os.AsyncTask;
import android.os.Bundle;
import android.util.Log;
import android.view.View;
import android.widget.Button;
import android.widget.EditText;
public class NewProductActivity extends Activity {
// Progress Dialog
private ProgressDialog pDialog;
JSONParser jsonParser = new JSONParser();
EditText inputName;
EditText inputPrice;
EditText inputDesc;
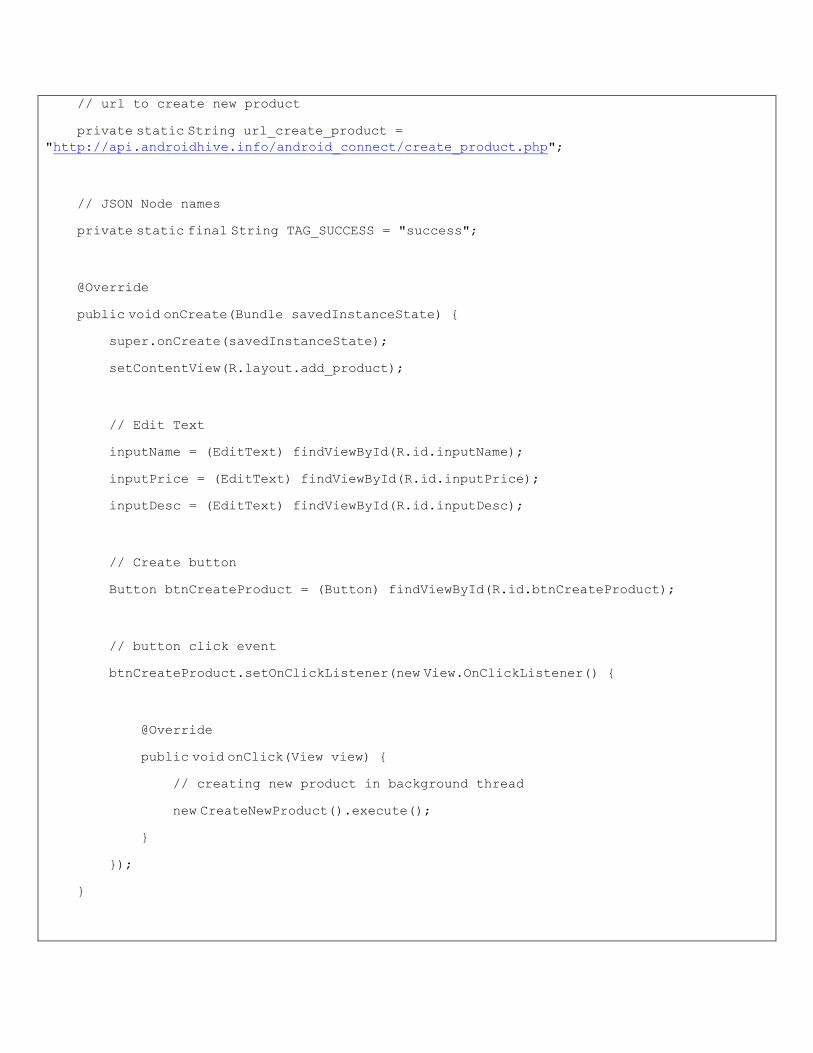
// url to create new product
private static String url_create_product = "http://api.androidhive.info/android_connect/create_product.php";
// JSON Node names
private static final String TAG_SUCCESS = "success";
@Override
public void onCreate(Bundle savedInstanceState) {
super.onCreate(savedInstanceState);
setContentView(R.layout.add_product);
// Edit Text
inputName = (EditText) findViewById(R.id.inputName);
inputPrice = (EditText) findViewById(R.id.inputPrice);
inputDesc = (EditText) findViewById(R.id.inputDesc);
// Create button
Button btnCreateProduct = (Button) findViewById(R.id.btnCreateProduct);
// button click event
btnCreateProduct.setOnClickListener(new View.OnClickListener() {
@Override
public void onClick(View view) {
// creating new product in background thread
new CreateNewProduct().execute();
}
});
}
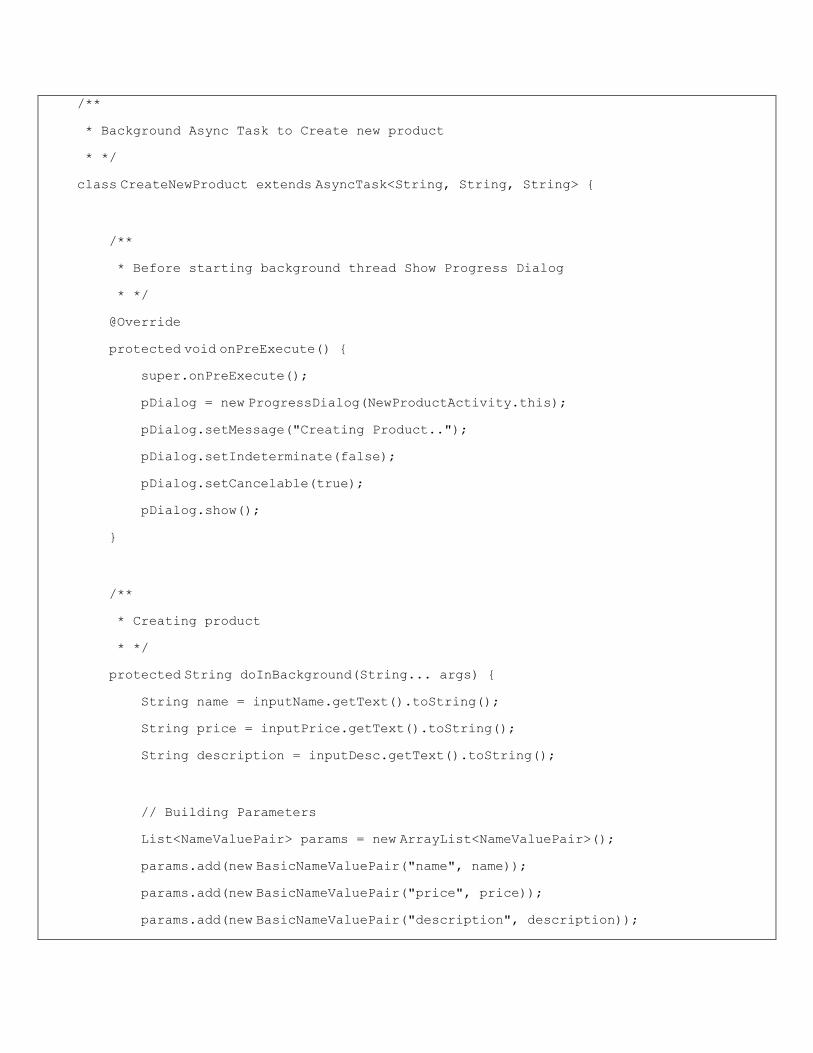
/**
* Background Async Task to Create new product
* */
class CreateNewProduct extends AsyncTask<String, String, String> {
/**
* Before starting background thread Show Progress Dialog
* */
@Override
protected void onPreExecute() {
super.onPreExecute();
pDialog = new ProgressDialog(NewProductActivity.this);
pDialog.setMessage("Creating Product..");
pDialog.setIndeterminate(false);
pDialog.setCancelable(true);
pDialog.show();
}
/**
* Creating product
* */
protected String doInBackground(String... args) {
String name = inputName.getText().toString();
String price = inputPrice.getText().toString();
String description = inputDesc.getText().toString();
// Building Parameters
List<NameValuePair> params = new ArrayList<NameValuePair>();
params.add(new BasicNameValuePair("name", name));
params.add(new BasicNameValuePair("price", price));
params.add(new BasicNameValuePair("description", description));
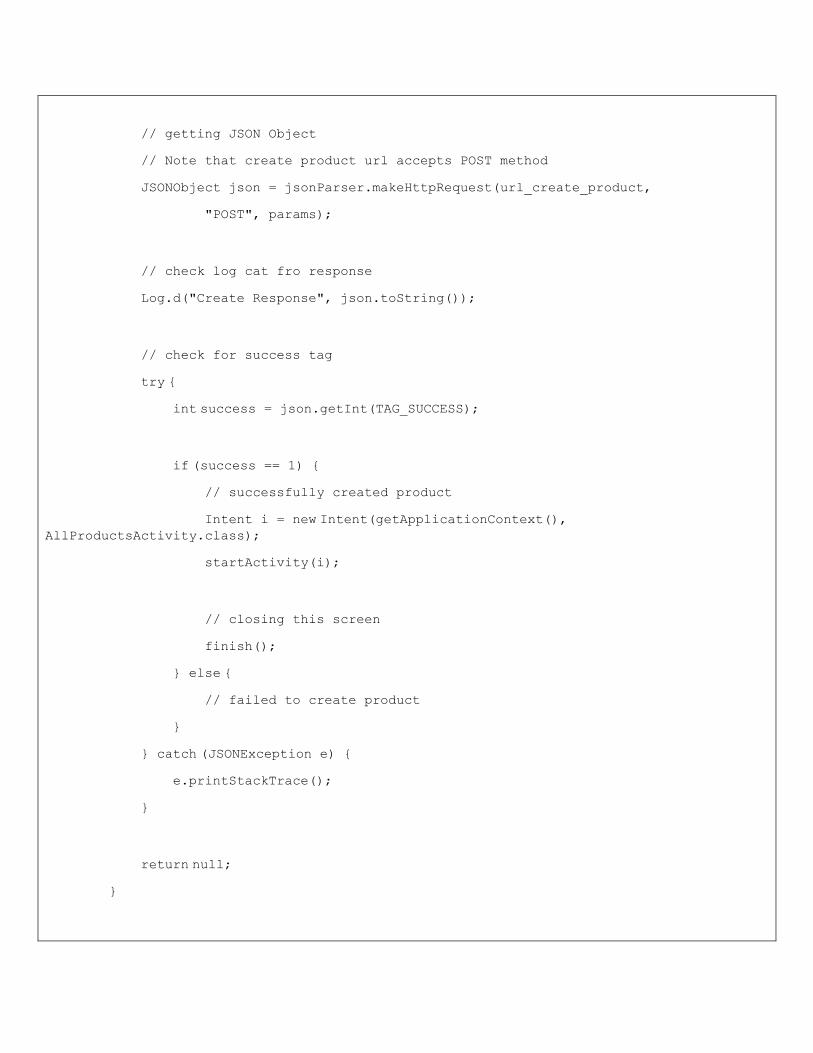
// getting JSON Object
// Note that create product url accepts POST method
JSONObject json = jsonParser.makeHttpRequest(url_create_product,
"POST", params);
// check log cat fro response
Log.d("Create Response", json.toString());
// check for success tag
try {
int success = json.getInt(TAG_SUCCESS);
if (success == 1) {
// successfully created product
Intent i = new Intent(getApplicationContext(), AllProductsActivity.class);
startActivity(i);
// closing this screen
finish();
} else {
// failed to create product
}
} catch (JSONException e) {
e.printStackTrace();
}
return null;
}

/**
* After completing background task Dismiss the progress dialog
* **/
protected void onPostExecute(String file_url) {
// dismiss the dialog once done
pDialog.dismiss();
}
}
}
If you notice the AllProductsActivity.java, In listview i am launching EditProductAcivity.java once a single list
item is selected. So create xml file called edit_product.xml and create a form which is same as
create_product.xml.
edit_product.xml
edit_product.xml
<?xml version="1.0" encoding="utf-8"?>
<LinearLayout xmlns:android="http://schemas.android.com/apk/res/android"
android:layout_width="match_parent"
android:layout_height="match_parent"
android:orientation="vertical" >
<!-- Name Label -->
<TextView android:layout_width="fill_parent"
android:layout_height="wrap_content"
android:text="Product Name"
android:paddingLeft="10dip"
android:paddingRight="10dip"
android:paddingTop="10dip"
android:textSize="17dip"/>
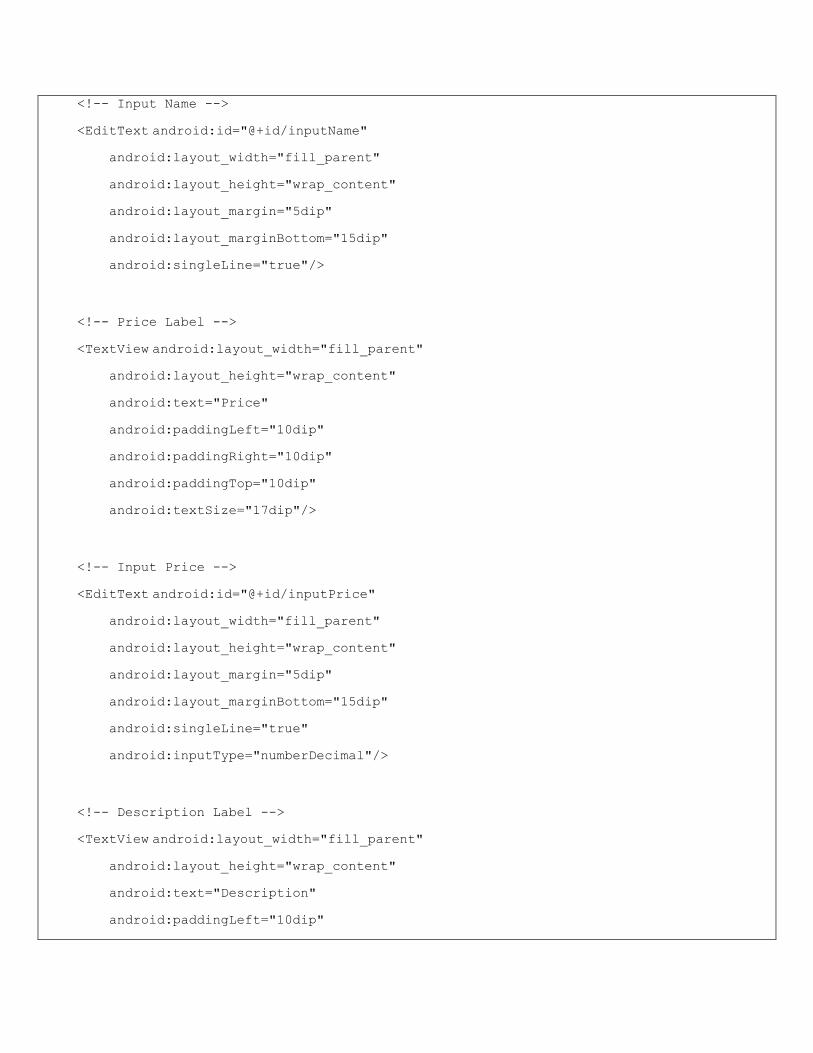
<!-- Input Name -->
<EditText android:id="@+id/inputName"
android:layout_width="fill_parent"
android:layout_height="wrap_content"
android:layout_margin="5dip"
android:layout_marginBottom="15dip"
android:singleLine="true"/>
<!-- Price Label -->
<TextView android:layout_width="fill_parent"
android:layout_height="wrap_content"
android:text="Price"
android:paddingLeft="10dip"
android:paddingRight="10dip"
android:paddingTop="10dip"
android:textSize="17dip"/>
<!-- Input Price -->
<EditText android:id="@+id/inputPrice"
android:layout_width="fill_parent"
android:layout_height="wrap_content"
android:layout_margin="5dip"
android:layout_marginBottom="15dip"
android:singleLine="true"
android:inputType="numberDecimal"/>
<!-- Description Label -->
<TextView android:layout_width="fill_parent"
android:layout_height="wrap_content"
android:text="Description"
android:paddingLeft="10dip"
android:paddingRight="10dip"
android:paddingTop="10dip"
android:textSize="17dip"/>
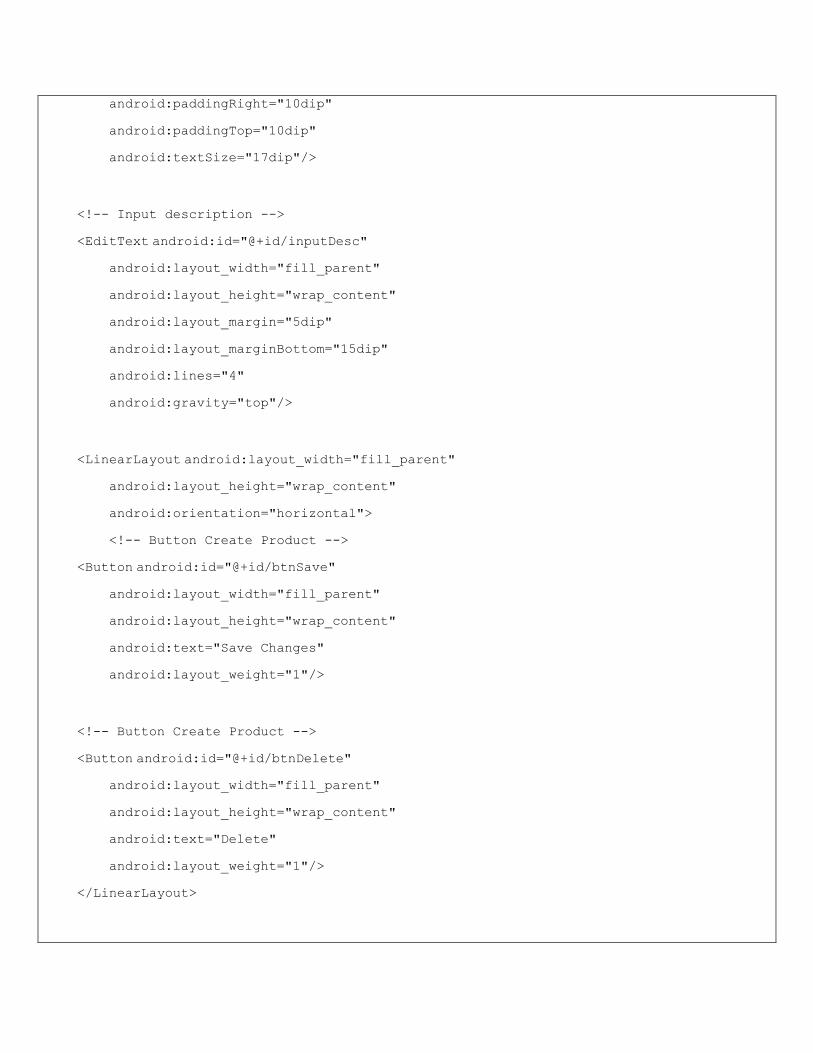
<!-- Input description -->
<EditText android:id="@+id/inputDesc"
android:layout_width="fill_parent"
android:layout_height="wrap_content"
android:layout_margin="5dip"
android:layout_marginBottom="15dip"
android:lines="4"
android:gravity="top"/>
<LinearLayout android:layout_width="fill_parent"
android:layout_height="wrap_content"
android:orientation="horizontal">
<!-- Button Create Product -->
<Button android:id="@+id/btnSave"
android:layout_width="fill_parent"
android:layout_height="wrap_content"
android:text="Save Changes"
android:layout_weight="1"/>
<!-- Button Create Product -->
<Button android:id="@+id/btnDelete"
android:layout_width="fill_parent"
android:layout_height="wrap_content"
android:text="Delete"
android:layout_weight="1"/>
</LinearLayout>

</LinearLayout>
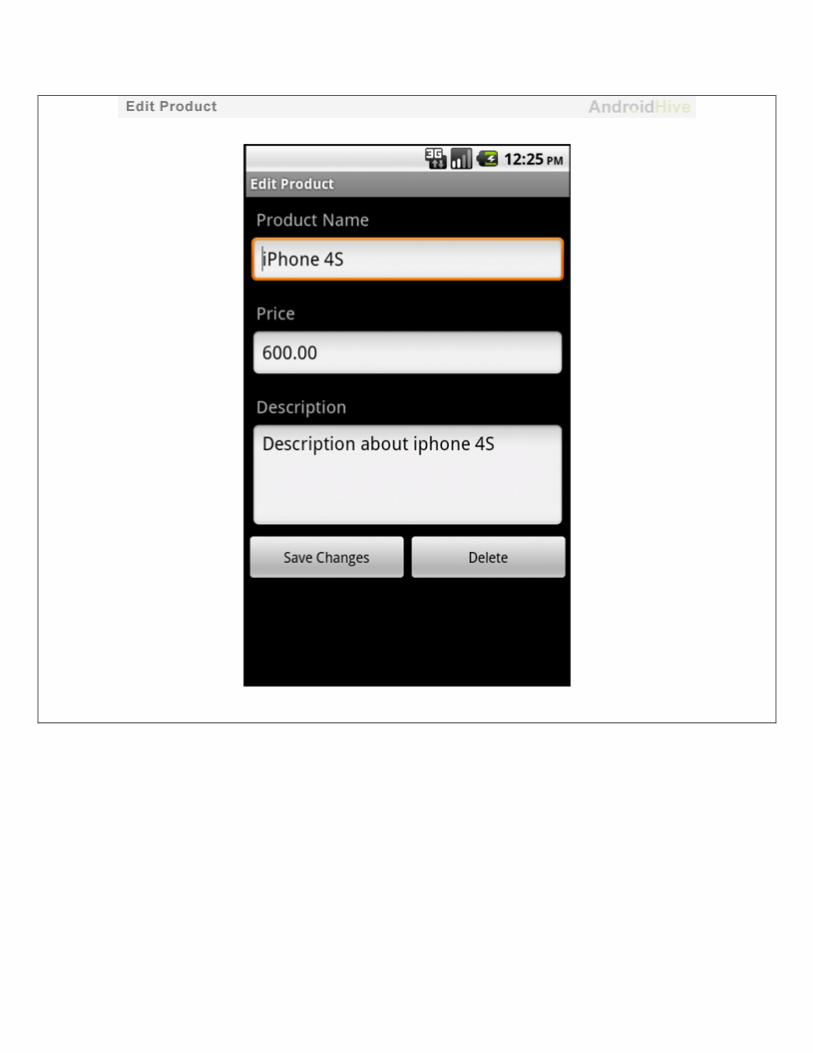
Create a class file for edit_product.xml and name it as EditProductActivity.java and fill it with following code.
In the following code
-> First product id (pid) is read from the intent which is sent from listview.
-> A request is made to get_product_details.php and after getting product details in json format, I parsed the
json and displayed in EditText.
-> After displaying product data in the form if user clicks on Save Changes Button, another HTTP request is
made to update_product.php to store updated product data.
-> If the user selected Delete Product Button, HTTP request is made to delete_product.php and product is
deleted from mysql database, and listview is refreshed with new product list.
EditProductActivity.java
package com.example.androidhive;
import java.util.ArrayList;
import java.util.List;
import org.apache.http.NameValuePair;
import org.apache.http.message.BasicNameValuePair;
import org.json.JSONArray;
import org.json.JSONException;
import org.json.JSONObject;
import android.app.Activity;
import android.app.ProgressDialog;
import android.content.Intent;
import android.os.AsyncTask;
import android.os.Bundle;
import android.util.Log;
import android.view.View;
import android.widget.Button;
import android.widget.EditText;
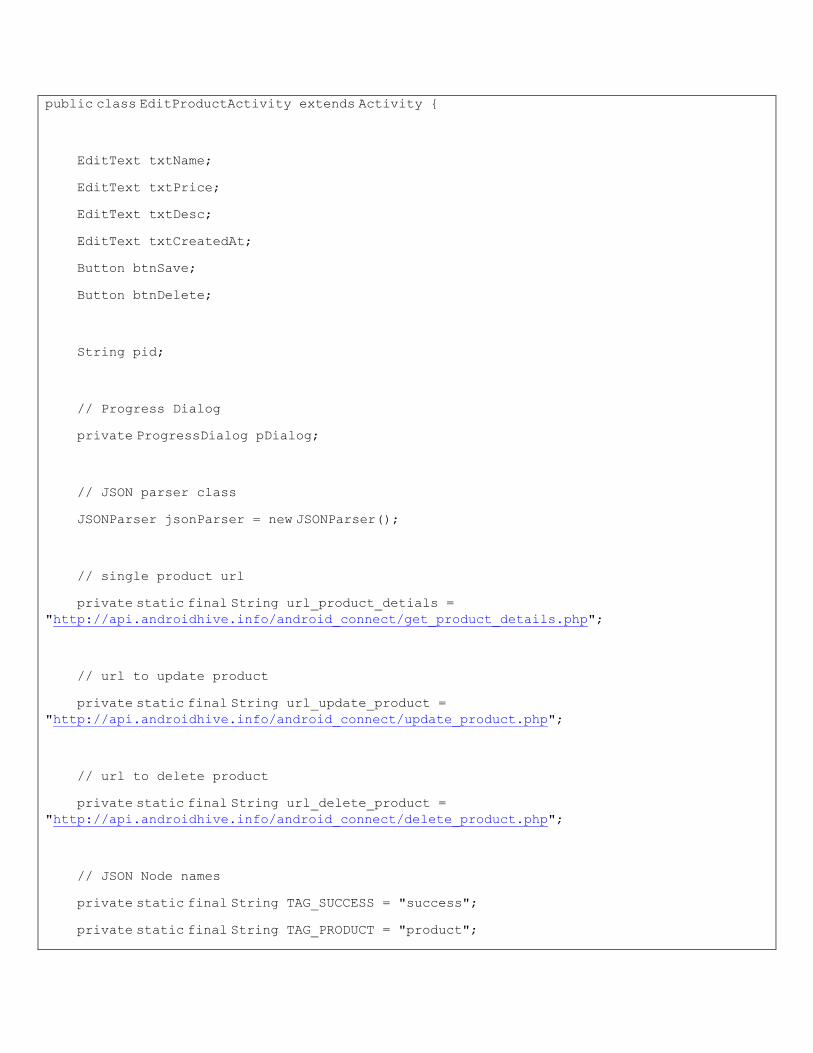
public class EditProductActivity extends Activity {
EditText txtName;
EditText txtPrice;
EditText txtDesc;
EditText txtCreatedAt;
Button btnSave;
Button btnDelete;
String pid;
// Progress Dialog
private ProgressDialog pDialog;
// JSON parser class
JSONParser jsonParser = new JSONParser();
// single product url
private static final String url_product_detials = "http://api.androidhive.info/android_connect/get_product_details.php";
// url to update product
private static final String url_update_product = "http://api.androidhive.info/android_connect/update_product.php";
// url to delete product
private static final String url_delete_product = "http://api.androidhive.info/android_connect/delete_product.php";
// JSON Node names
private static final String TAG_SUCCESS = "success";
private static final String TAG_PRODUCT = "product";
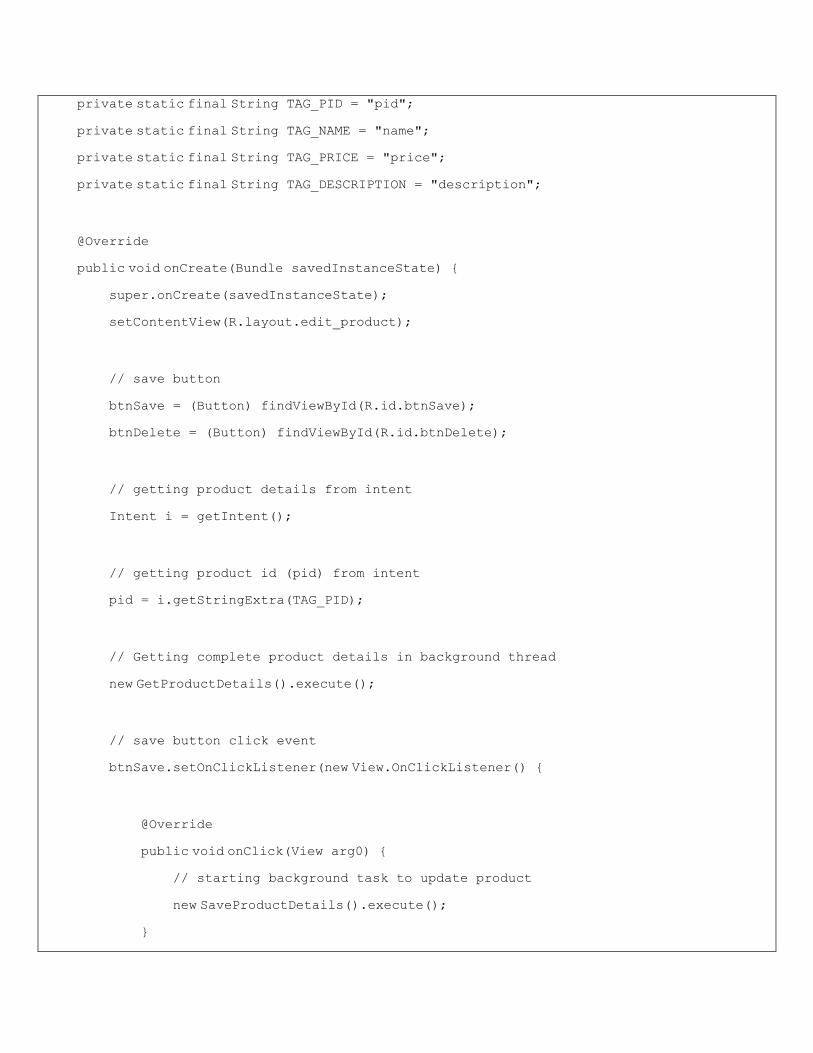
private static final String TAG_PID = "pid";
private static final String TAG_NAME = "name";
private static final String TAG_PRICE = "price";
private static final String TAG_DESCRIPTION = "description";
@Override
public void onCreate(Bundle savedInstanceState) {
super.onCreate(savedInstanceState);
setContentView(R.layout.edit_product);
// save button
btnSave = (Button) findViewById(R.id.btnSave);
btnDelete = (Button) findViewById(R.id.btnDelete);
// getting product details from intent
Intent i = getIntent();
// getting product id (pid) from intent
pid = i.getStringExtra(TAG_PID);
// Getting complete product details in background thread
new GetProductDetails().execute();
// save button click event
btnSave.setOnClickListener(new View.OnClickListener() {
@Override
public void onClick(View arg0) {
// starting background task to update product
new SaveProductDetails().execute();
}
});
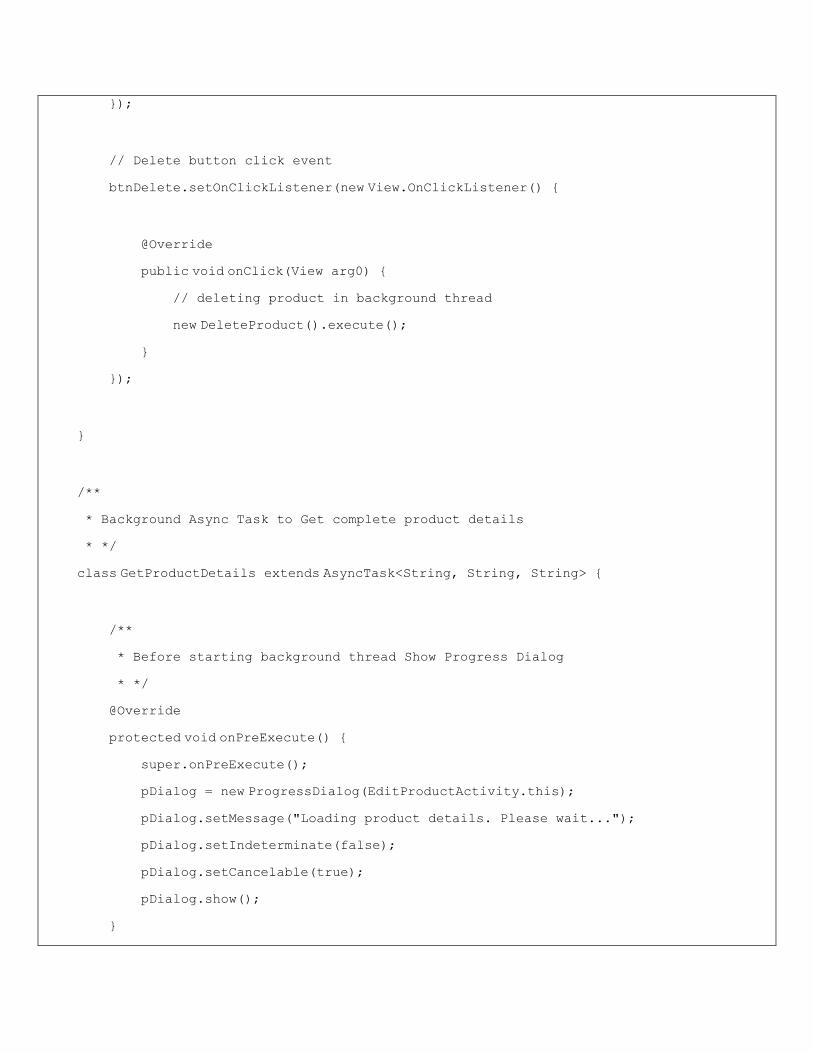
// Delete button click event
btnDelete.setOnClickListener(new View.OnClickListener() {
@Override
public void onClick(View arg0) {
// deleting product in background thread
new DeleteProduct().execute();
}
});
}
/**
* Background Async Task to Get complete product details
* */
class GetProductDetails extends AsyncTask<String, String, String> {
/**
* Before starting background thread Show Progress Dialog
* */
@Override
protected void onPreExecute() {
super.onPreExecute();
pDialog = new ProgressDialog(EditProductActivity.this);
pDialog.setMessage("Loading product details. Please wait...");
pDialog.setIndeterminate(false);
pDialog.setCancelable(true);
pDialog.show();
}
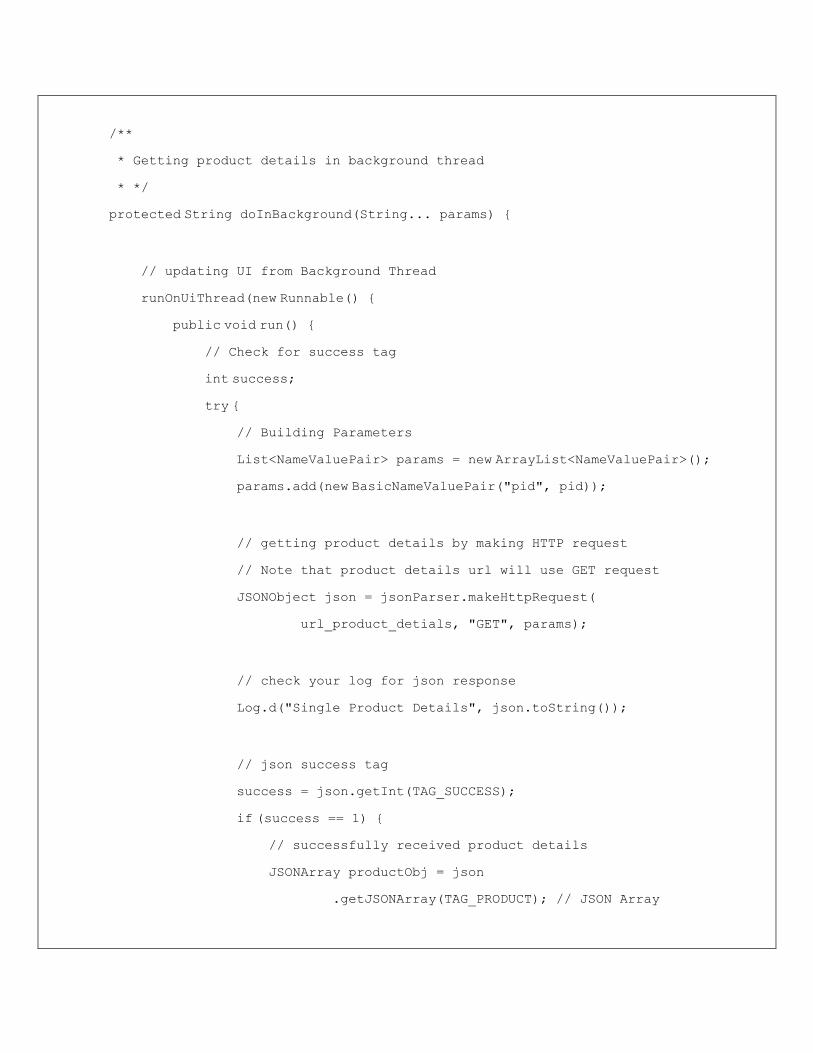
/**
* Getting product details in background thread
* */
protected String doInBackground(String... params) {
// updating UI from Background Thread
runOnUiThread(new Runnable() {
public void run() {
// Check for success tag
int success;
try {
// Building Parameters
List<NameValuePair> params = new ArrayList<NameValuePair>();
params.add(new BasicNameValuePair("pid", pid));
// getting product details by making HTTP request
// Note that product details url will use GET request
JSONObject json = jsonParser.makeHttpRequest(
url_product_detials, "GET", params);
// check your log for json response
Log.d("Single Product Details", json.toString());
// json success tag
success = json.getInt(TAG_SUCCESS);
if (success == 1) {
// successfully received product details
JSONArray productObj = json
.getJSONArray(TAG_PRODUCT); // JSON Array
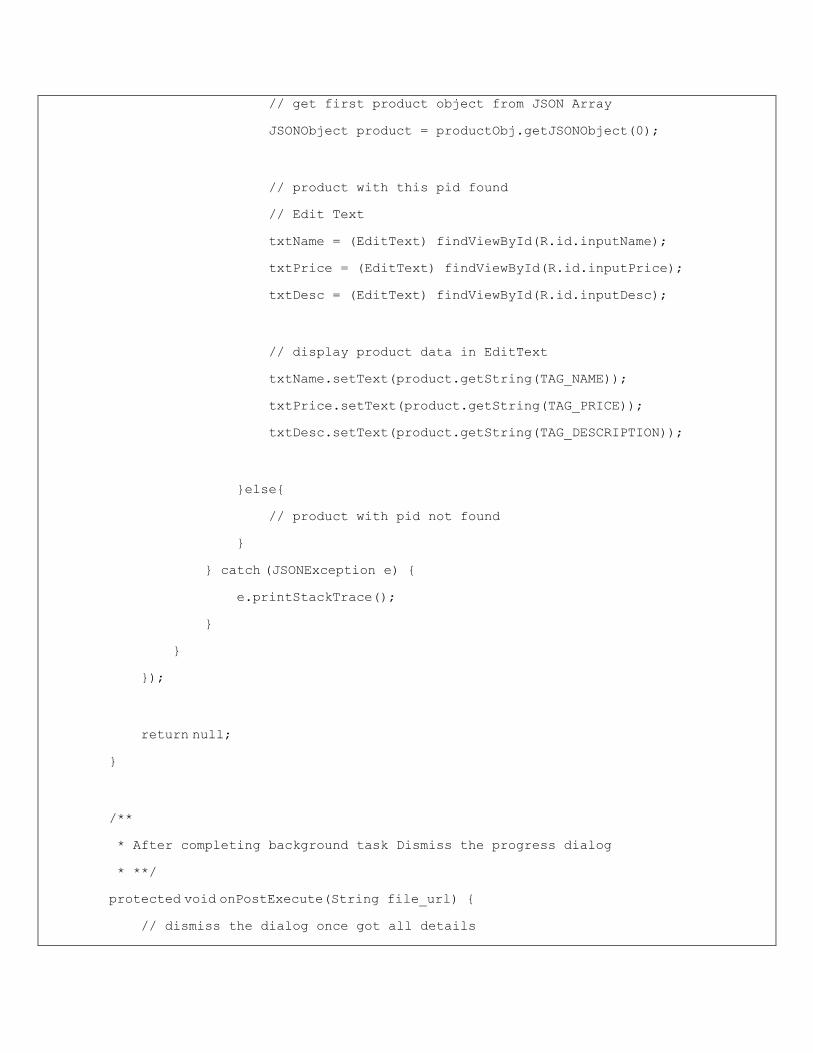
// get first product object from JSON Array
JSONObject product = productObj.getJSONObject(0);
// product with this pid found
// Edit Text
txtName = (EditText) findViewById(R.id.inputName);
txtPrice = (EditText) findViewById(R.id.inputPrice);
txtDesc = (EditText) findViewById(R.id.inputDesc);
// display product data in EditText
txtName.setText(product.getString(TAG_NAME));
txtPrice.setText(product.getString(TAG_PRICE));
txtDesc.setText(product.getString(TAG_DESCRIPTION));
}else{
// product with pid not found
}
} catch (JSONException e) {
e.printStackTrace();
}
}
});
return null;
}
/**
* After completing background task Dismiss the progress dialog
* **/
protected void onPostExecute(String file_url) {
// dismiss the dialog once got all details
pDialog.dismiss();
}
}
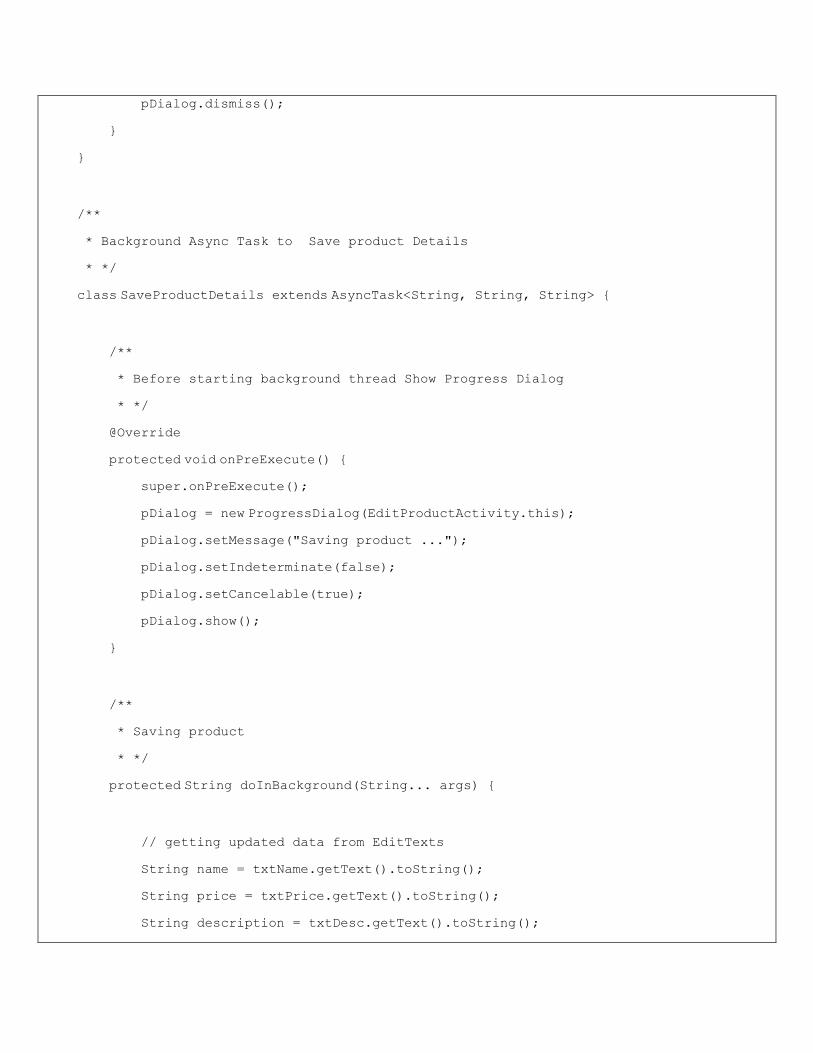
/**
* Background Async Task to Save product Details
* */
class SaveProductDetails extends AsyncTask<String, String, String> {
/**
* Before starting background thread Show Progress Dialog
* */
@Override
protected void onPreExecute() {
super.onPreExecute();
pDialog = new ProgressDialog(EditProductActivity.this);
pDialog.setMessage("Saving product ...");
pDialog.setIndeterminate(false);
pDialog.setCancelable(true);
pDialog.show();
}
/**
* Saving product
* */
protected String doInBackground(String... args) {
// getting updated data from EditTexts
String name = txtName.getText().toString();
String price = txtPrice.getText().toString();
String description = txtDesc.getText().toString();
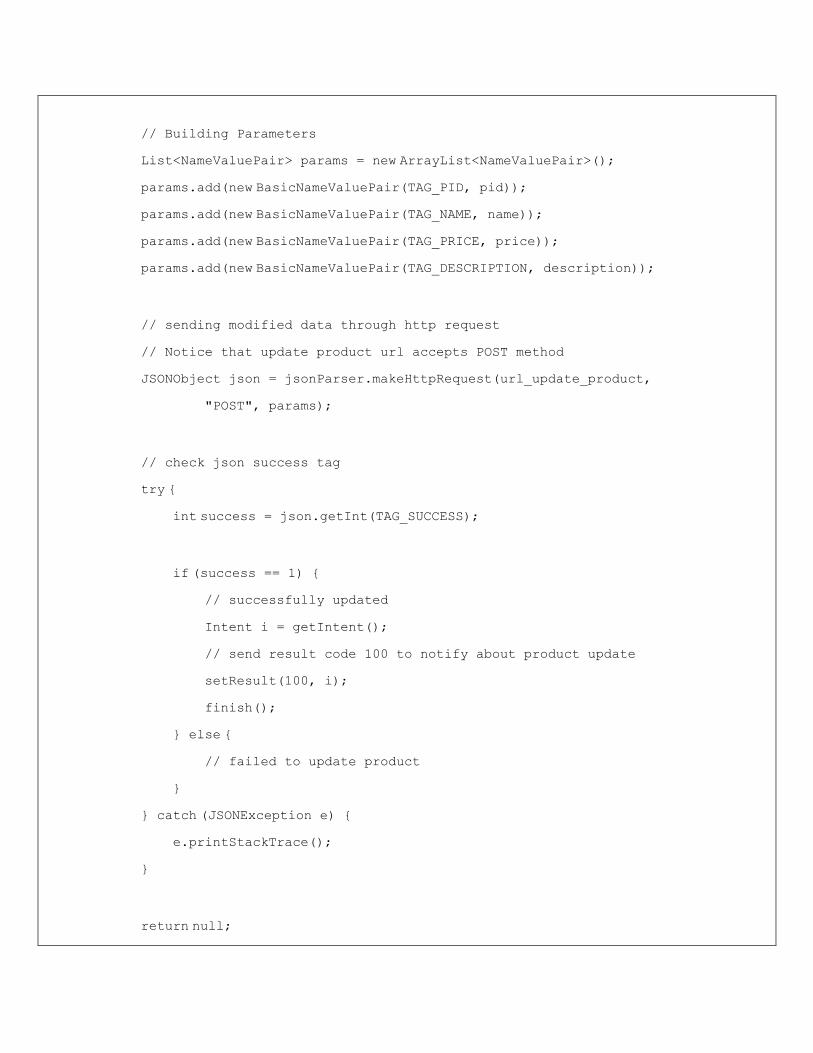
// Building Parameters
List<NameValuePair> params = new ArrayList<NameValuePair>();
params.add(new BasicNameValuePair(TAG_PID, pid));
params.add(new BasicNameValuePair(TAG_NAME, name));
params.add(new BasicNameValuePair(TAG_PRICE, price));
params.add(new BasicNameValuePair(TAG_DESCRIPTION, description));
// sending modified data through http request
// Notice that update product url accepts POST method
JSONObject json = jsonParser.makeHttpRequest(url_update_product,
"POST", params);
// check json success tag
try {
int success = json.getInt(TAG_SUCCESS);
if (success == 1) {
// successfully updated
Intent i = getIntent();
// send result code 100 to notify about product update
setResult(100, i);
finish();
} else {
// failed to update product
}
} catch (JSONException e) {
e.printStackTrace();
}
return null;
}
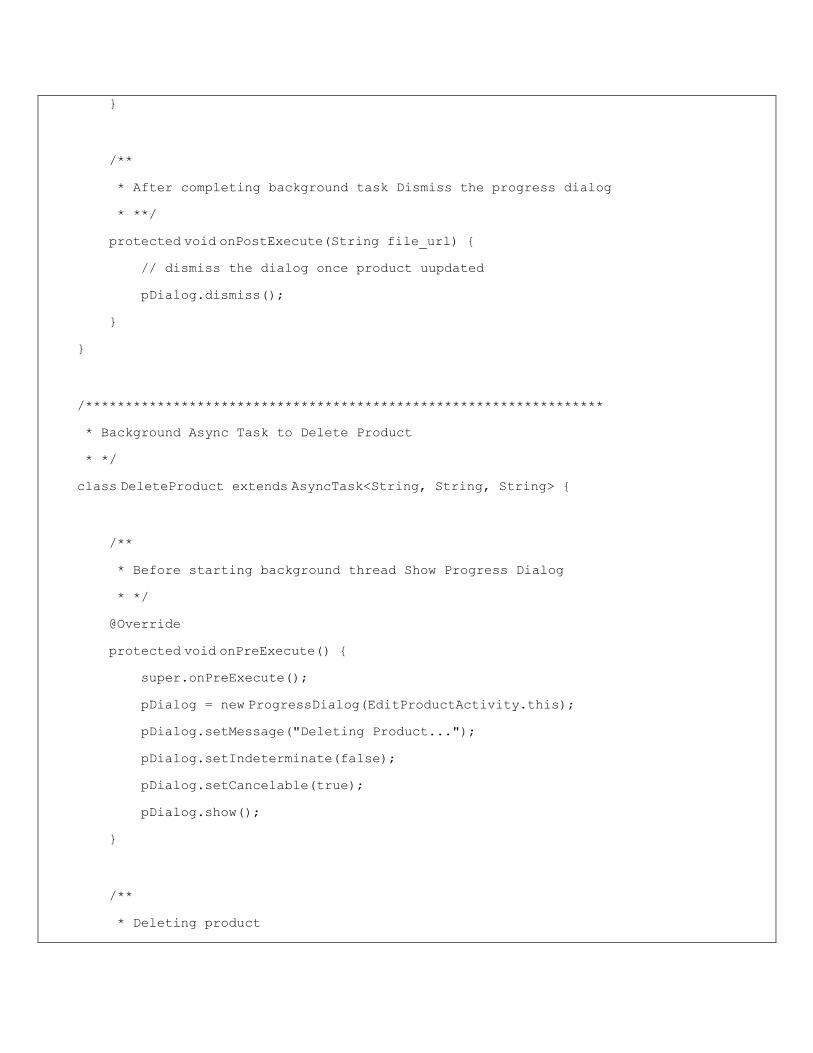
/**
* After completing background task Dismiss the progress dialog
* **/
protected void onPostExecute(String file_url) {
// dismiss the dialog once product uupdated
pDialog.dismiss();
}
}
/*****************************************************************
* Background Async Task to Delete Product
* */
class DeleteProduct extends AsyncTask<String, String, String> {
/**
* Before starting background thread Show Progress Dialog
* */
@Override
protected void onPreExecute() {
super.onPreExecute();
pDialog = new ProgressDialog(EditProductActivity.this);
pDialog.setMessage("Deleting Product...");
pDialog.setIndeterminate(false);
pDialog.setCancelable(true);
pDialog.show();
}
/**
* Deleting product
* */
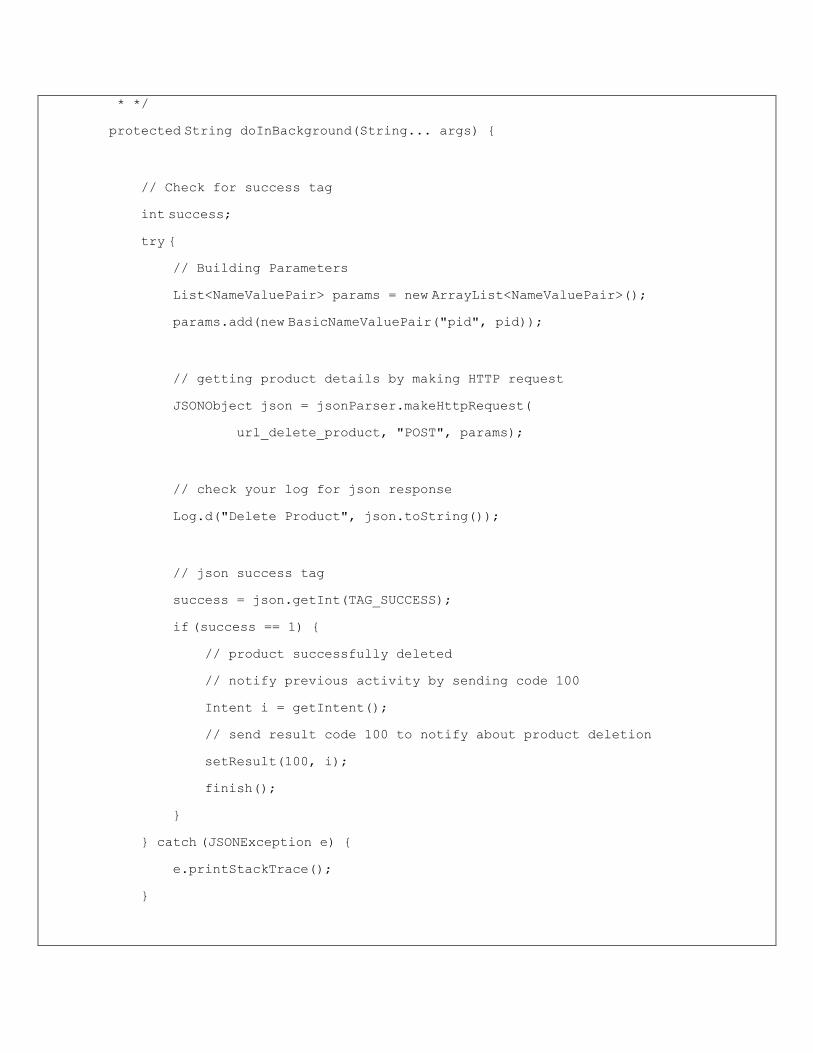
protected String doInBackground(String... args) {
// Check for success tag
int success;
try {
// Building Parameters
List<NameValuePair> params = new ArrayList<NameValuePair>();
params.add(new BasicNameValuePair("pid", pid));
// getting product details by making HTTP request
JSONObject json = jsonParser.makeHttpRequest(
url_delete_product, "POST", params);
// check your log for json response
Log.d("Delete Product", json.toString());
// json success tag
success = json.getInt(TAG_SUCCESS);
if (success == 1) {
// product successfully deleted
// notify previous activity by sending code 100
Intent i = getIntent();
// send result code 100 to notify about product deletion
setResult(100, i);
finish();
}
} catch (JSONException e) {
e.printStackTrace();
}
return null;
}
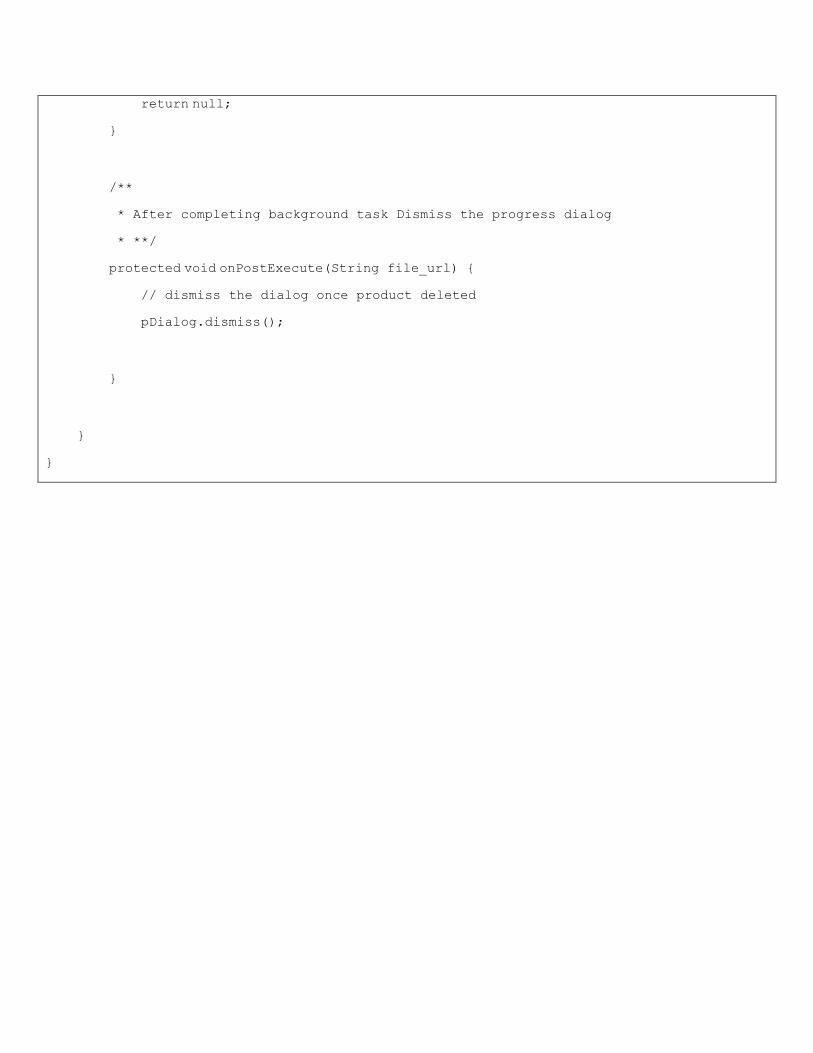
/**
* After completing background task Dismiss the progress dialog
* **/
protected void onPostExecute(String file_url) {
// dismiss the dialog once product deleted
pDialog.dismiss();
}
}
}
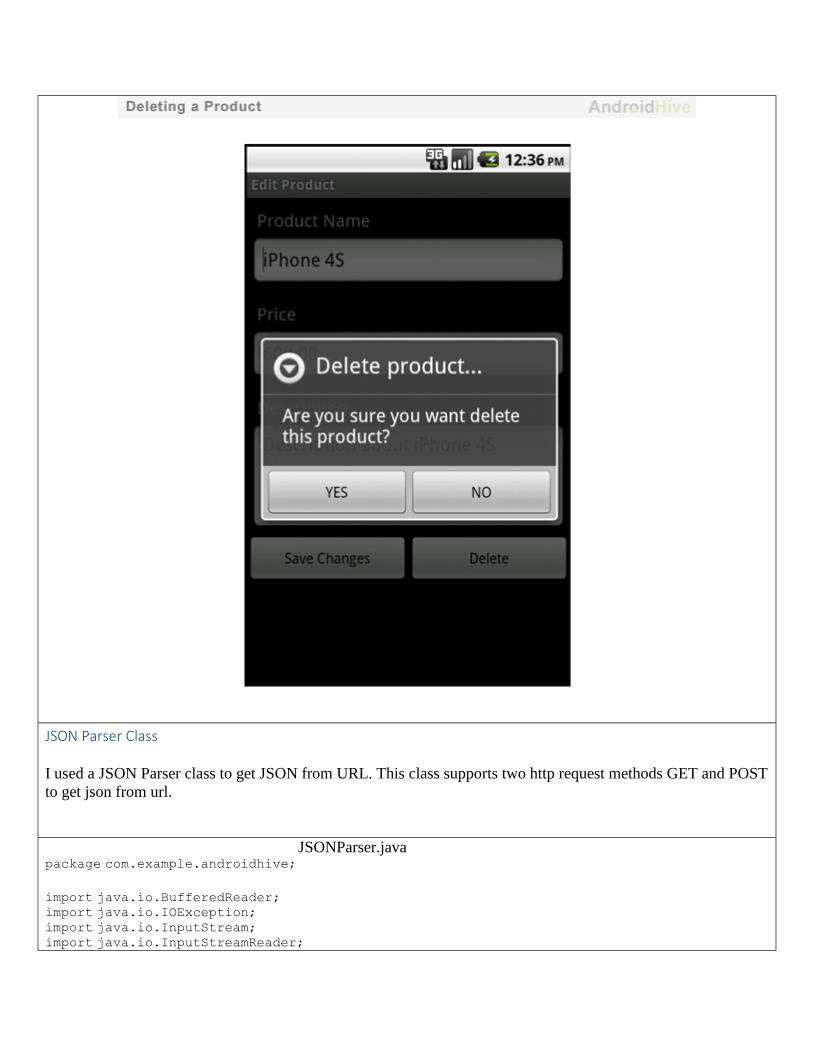
JSON Parser Class
I used a JSON Parser class to get JSON from URL. This class supports two http request methods GET and POST
to get json from url.
JSONParser.java package com.example.androidhive;
import java.io.BufferedReader; import java.io.IOException; import java.io.InputStream; import java.io.InputStreamReader;
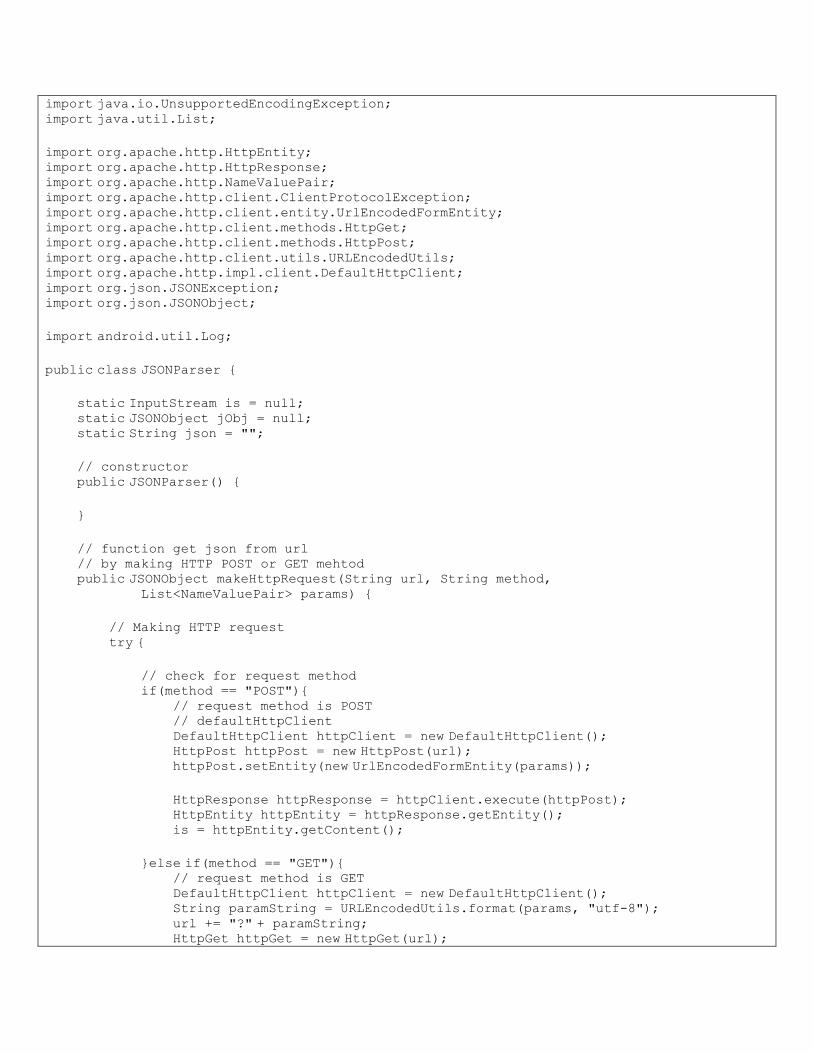
import java.io.UnsupportedEncodingException; import java.util.List; import org.apache.http.HttpEntity; import org.apache.http.HttpResponse; import org.apache.http.NameValuePair; import org.apache.http.client.ClientProtocolException; import org.apache.http.client.entity.UrlEncodedFormEntity; import org.apache.http.client.methods.HttpGet; import org.apache.http.client.methods.HttpPost; import org.apache.http.client.utils.URLEncodedUtils; import org.apache.http.impl.client.DefaultHttpClient; import org.json.JSONException; import org.json.JSONObject; import android.util.Log;
public class JSONParser { static InputStream is = null; static JSONObject jObj = null; static String json = ""; // constructor public JSONParser() { }
// function get json from url // by making HTTP POST or GET mehtod public JSONObject makeHttpRequest(String url, String method, List<NameValuePair> params) { // Making HTTP request try { // check for request method if(method == "POST"){ // request method is POST // defaultHttpClient DefaultHttpClient httpClient = new DefaultHttpClient(); HttpPost httpPost = new HttpPost(url); httpPost.setEntity(new UrlEncodedFormEntity(params));
HttpResponse httpResponse = httpClient.execute(httpPost); HttpEntity httpEntity = httpResponse.getEntity(); is = httpEntity.getContent(); }else if(method == "GET"){ // request method is GET DefaultHttpClient httpClient = new DefaultHttpClient(); String paramString = URLEncodedUtils.format(params, "utf-8"); url += "?" + paramString; HttpGet httpGet = new HttpGet(url);
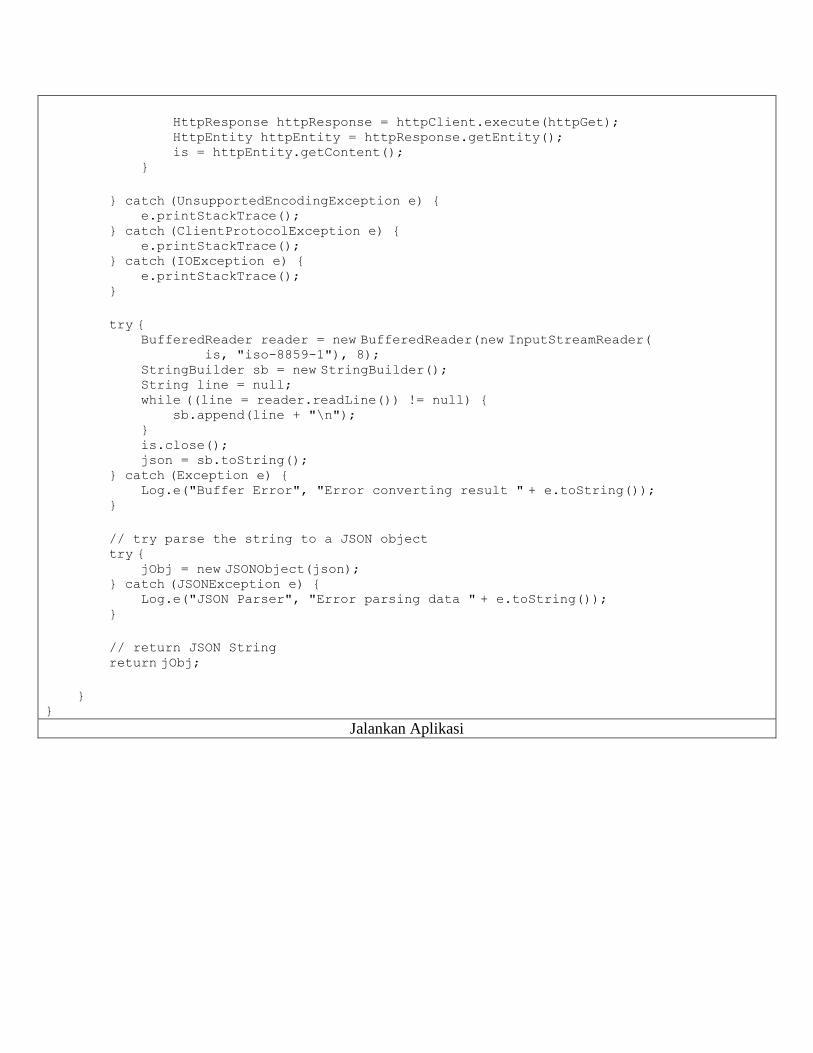
HttpResponse httpResponse = httpClient.execute(httpGet); HttpEntity httpEntity = httpResponse.getEntity(); is = httpEntity.getContent(); }
} catch (UnsupportedEncodingException e) { e.printStackTrace(); } catch (ClientProtocolException e) { e.printStackTrace(); } catch (IOException e) { e.printStackTrace(); }
try { BufferedReader reader = new BufferedReader(new InputStreamReader( is, "iso-8859-1"), 8); StringBuilder sb = new StringBuilder(); String line = null; while ((line = reader.readLine()) != null) { sb.append(line + "\n"); } is.close(); json = sb.toString(); } catch (Exception e) { Log.e("Buffer Error", "Error converting result " + e.toString()); }
// try parse the string to a JSON object try { jObj = new JSONObject(json); } catch (JSONException e) { Log.e("JSON Parser", "Error parsing data " + e.toString()); } // return JSON String return jObj; } }
Jalankan Aplikasi
Related Documents